Feeding the line through the units
When the drum unit is securely mounted and the winch has power, feed the line through the units.
|
With some A-frames, you may be able to mount and secure the sheave to the A-frame first, then feed the line to it. |
Steps
-
Turn the power off using either the Mains switch on the control cabinet or the ON /OFF switch on the handheld remote control.
-
Ensure the LOCAL / REMOTE switch is still in the REMOTE position.
-
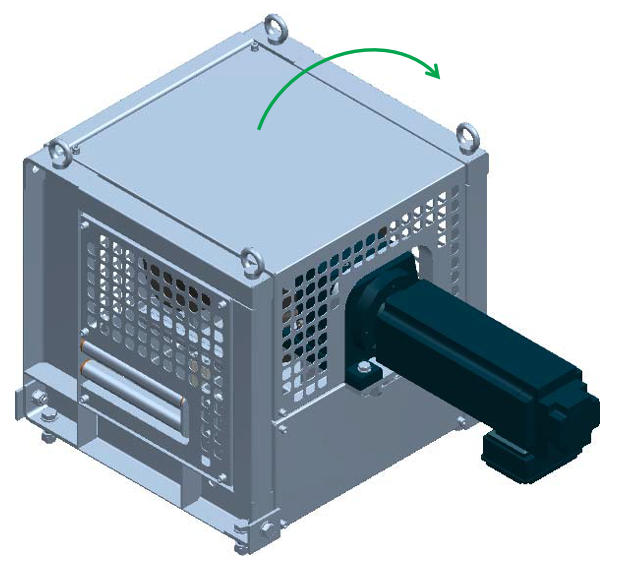
Unscrew and remove the cover from the drum.
-
Remove the plastic tape from the line inside the drum and locate the end.
An insertion tool is taped to the end of the line. Leave it there until the units are connected. It will help you insert the line between rollers.
-
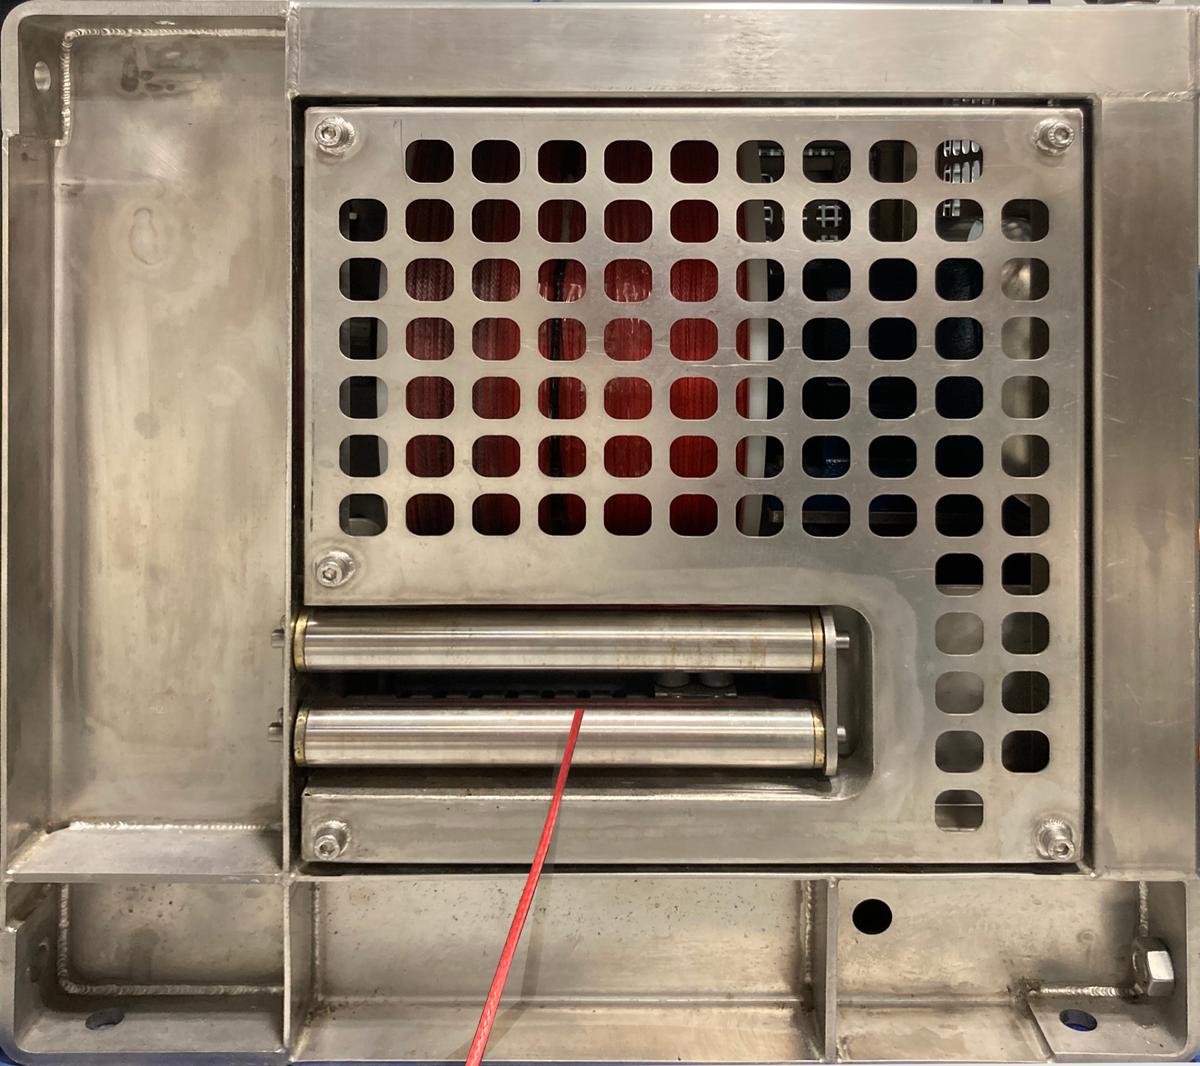
Run the line from the drum through the level winders to the line rollers and out of the drum, about 30cm.
-
Turn the power on and push RESET on the handheld remote control.
-
On Ruskin, reconnect to the winch.
-
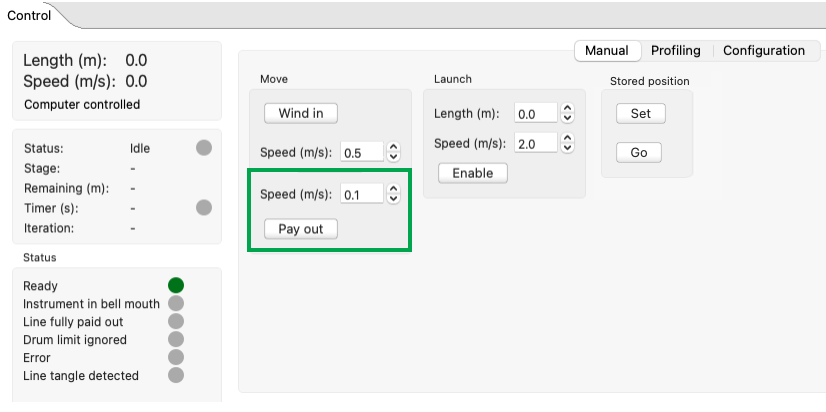
Under Move, set the pay-out speed to 0.1m, then click Pay out several times to dispense enough line to reach the sheave.
See Operating in manual mode on Ruskin for more guidance on using these options.
-
Turn the power off again.
-
Place the sheave unit horizontally to facilitate access.
-
Remove the RBRcervello mount and unscrew the metal wall on the sheave unit covering the two line tensioner rollers.
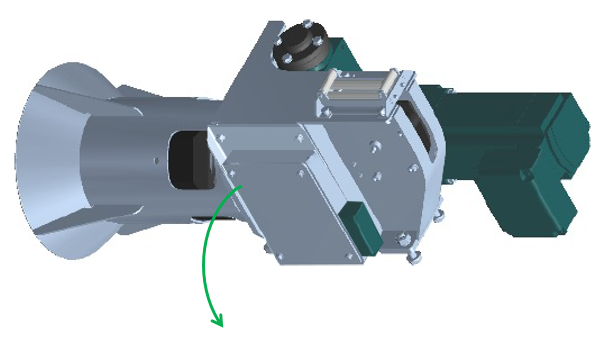
-
Insert the line through the fairlead on the top of the sheave unit and over the wheel down.
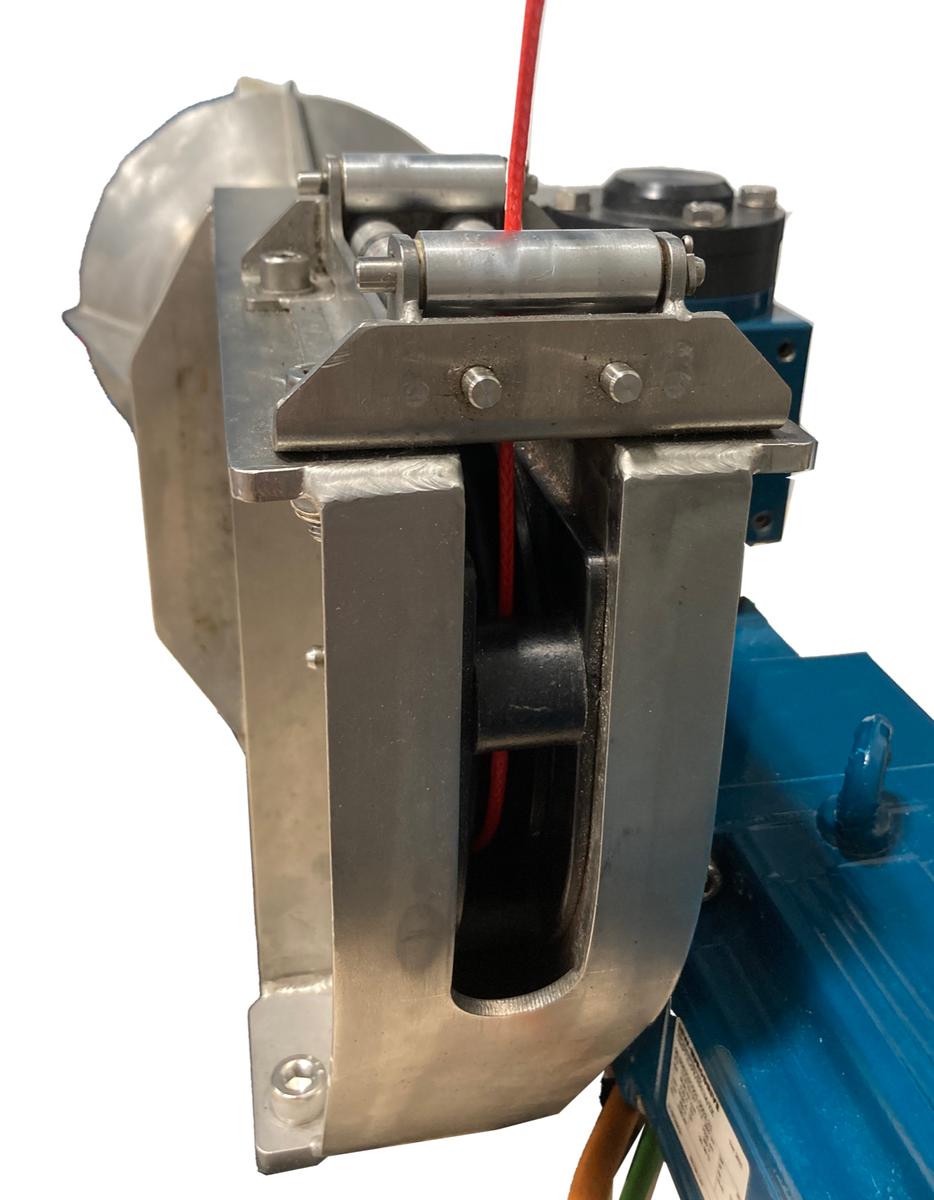
-
Pull the line in front of the line tensioner rollers and out of the bell mouth. Hold the end of the line with your hand for the following step.
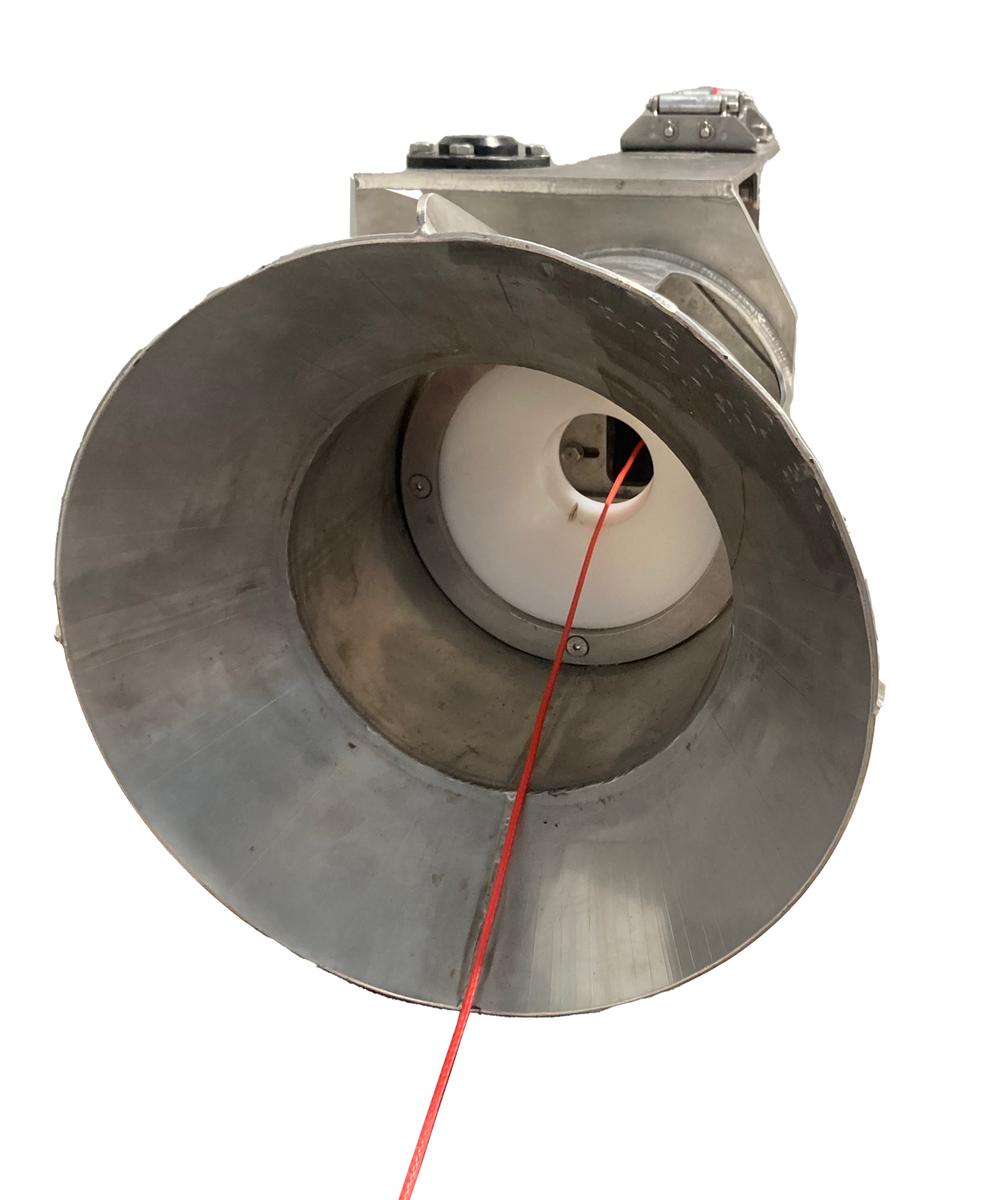
The two tensioner rollers are sitting very snug, so leave the line outside the point where they touch. Once the winch starts moving, the line will be drawn in between the rollers.
-
Holding the end of the line, pull on it and confirm that the line is now between the rollers.
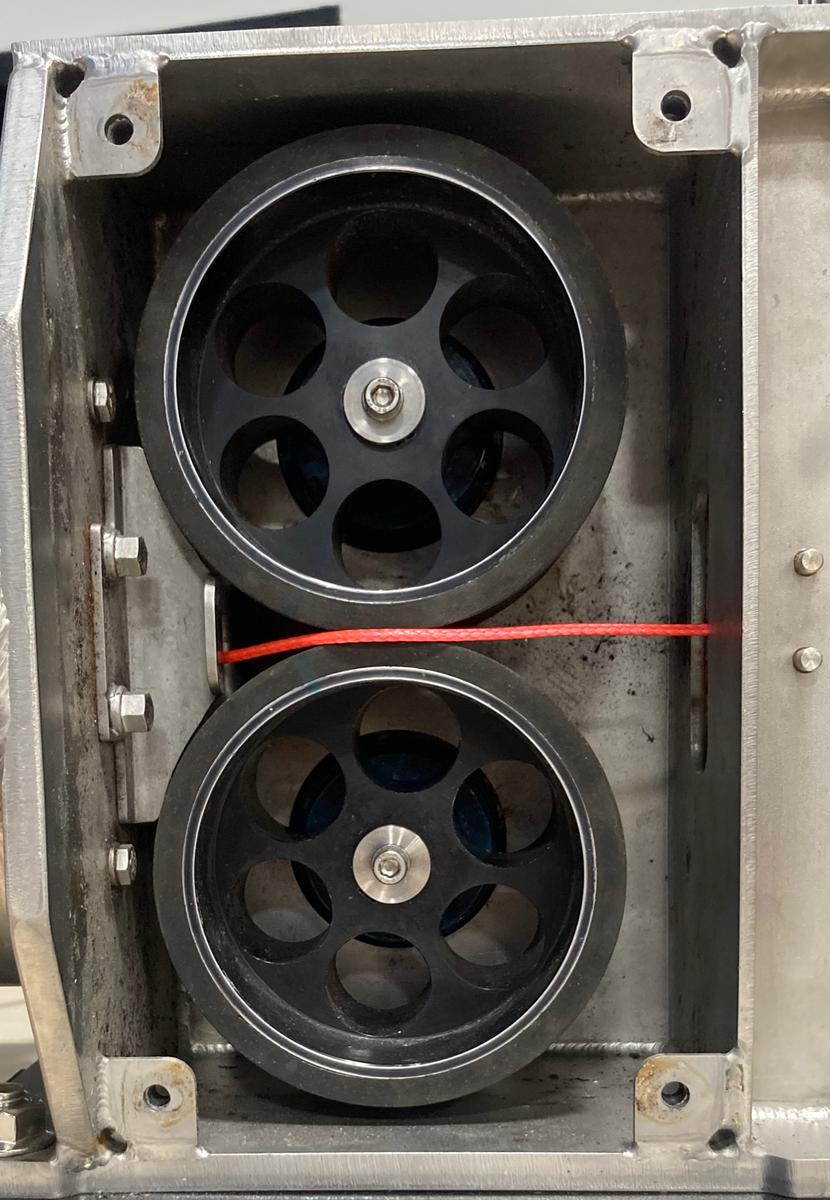
Line outside the rollers
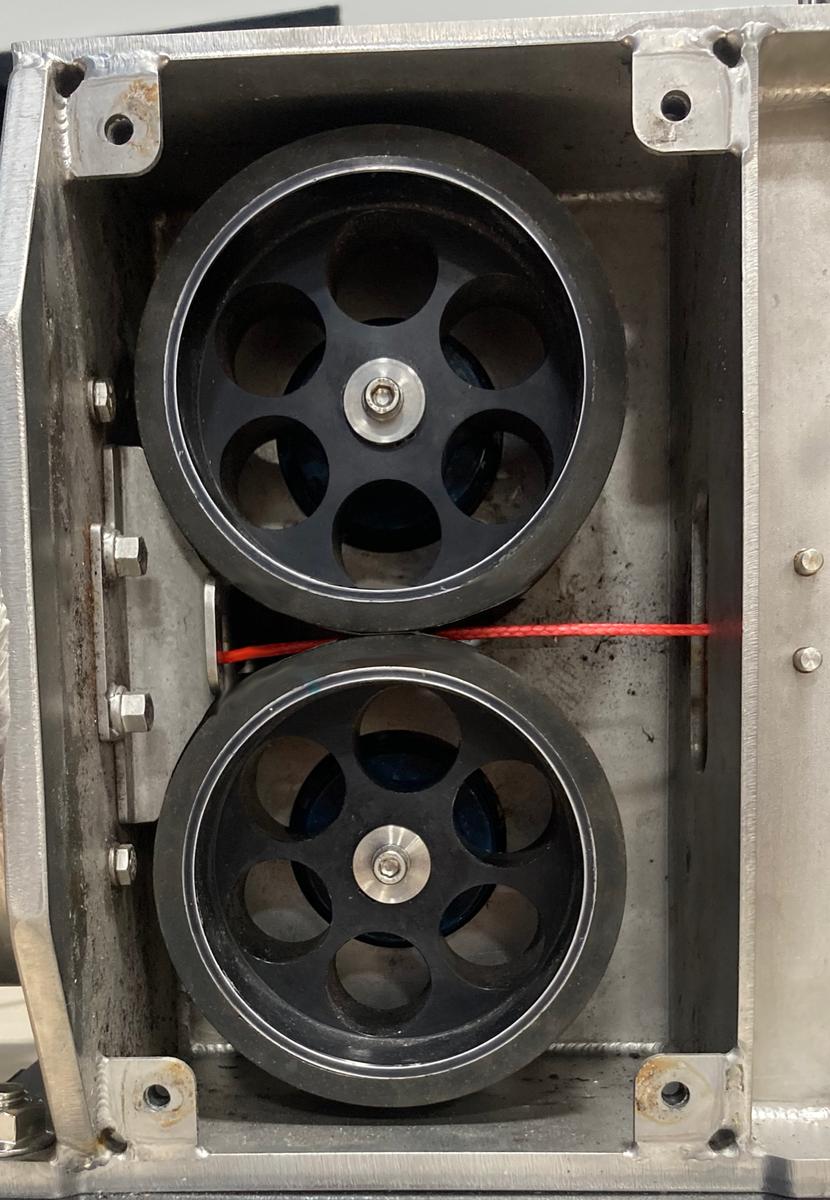
Line drawn in
-
Disconnect the insertion tool from the line by removing the tape.
Do not cut the line to remove the insertion tool. You will need the loop at the end of the line to attach your instrument.
-
Secure your instrument at the end of the line using the soft shackle provided.
-
Manually add some slack to the line between the sheave and the drum.
-
Put the panel back on the sheave and screw it in.
-
Place the cover back on the drum.
-
Turn the power on and push RESET on the handheld remote control.
-
On Ruskin, reconnect to the winch.
-
Using the Wind in and Pay out buttons, bring the instrument to the bell mouth.
-
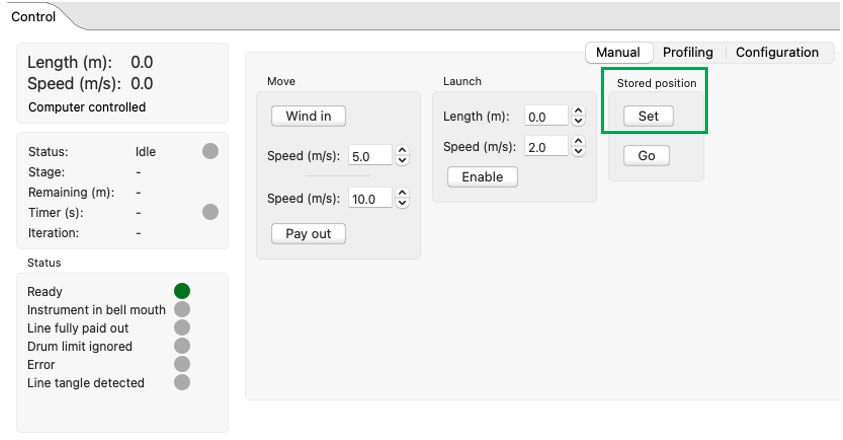
Under Stored position, click Set. This will be the zero position for your instrument.