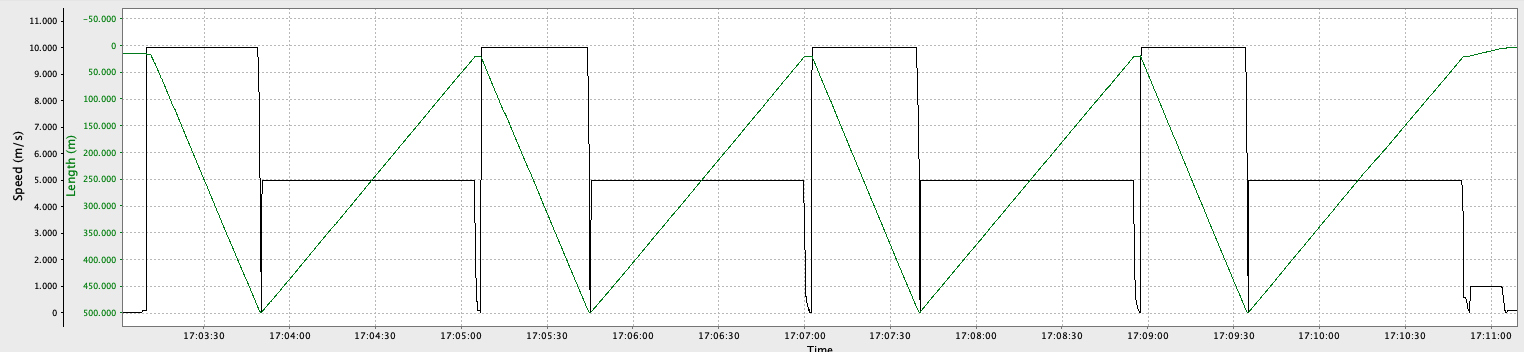
Example of automated profiling
The profiling parameters below reflect a typical deployment setup for our popular standard instrument, the RBRconcerto3 C.T.D, with several downcasts and upcasts. Follow these steps when setting up your deployment, or adjust the values as needed.
In this example, we use a 500m line.
Select a Drop and haul type, then enter Count (the number of repetitions). Count = 4 means there will be five (5) iterations of the Drop and Haul stages, while Deploy, Emerge, and Recover will be run once each.

Set up the RBRglissando parameters for each stage and click Enable.
-
Deploy
Slowly lower down your instrument at 0.3m/s. Pay out 15m of the line so that the instrument is just below the water surface. Usually, the best initial position would be the height of the boat plus 3-5 meters.
Soak the instrument there for at least a minute to allow the CTD to equilibrate to water temperature.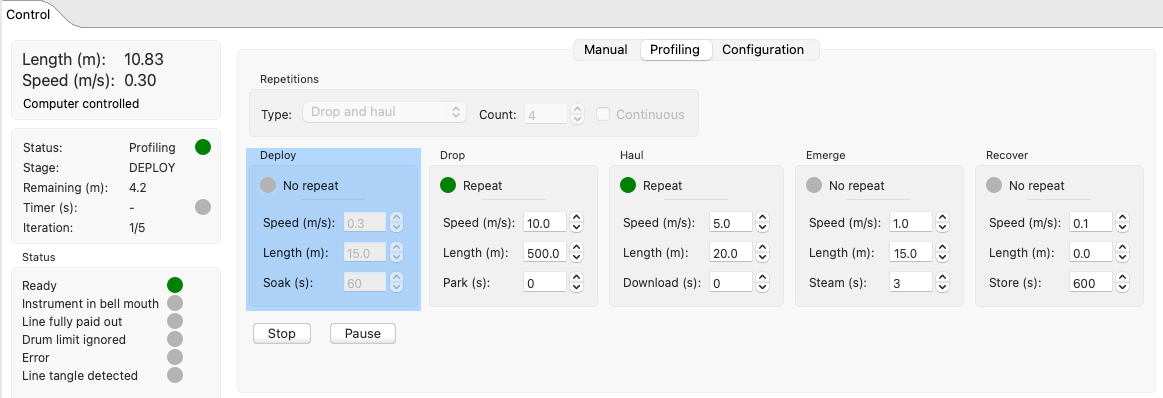
-
Drop
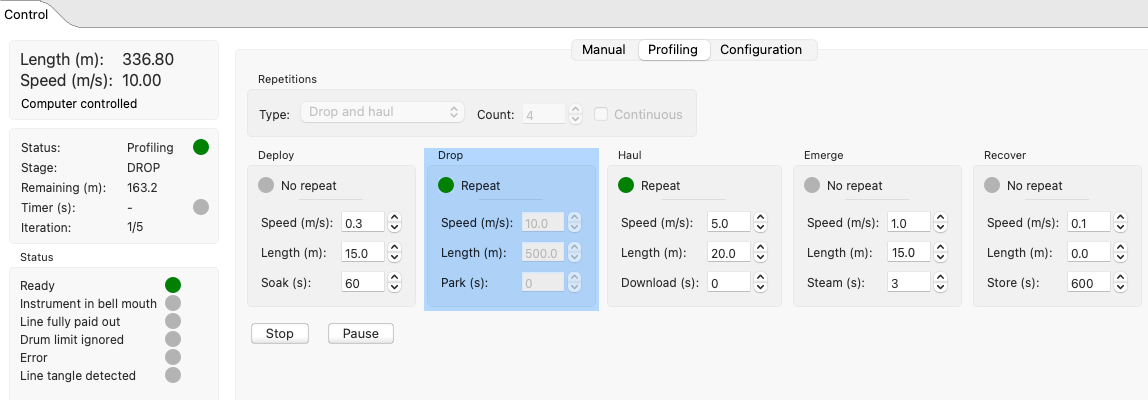
Drop your instrument into the water at a high speed, 10m/s, paying out the line all the way to the desired position of 500m. This means that the winch will spool out 485m more, adding this length to the 15m where the instrument was at the end of the Deploy stage.
When the Drop speed is higher than the speed of the moving boat, the instrument goes down almost vertically; otherwise, you may need to take into account the angle when estimating the profile depth.Set the Park time to zero to move directly to the next stage.
-
Haul
Quickly haul your instrument up at 5m/s, to 20m, which is approximately the Deploy position.
It is often convenient to set up different positions for Deploy and Haul to visually distinguish between the stages during repetitions.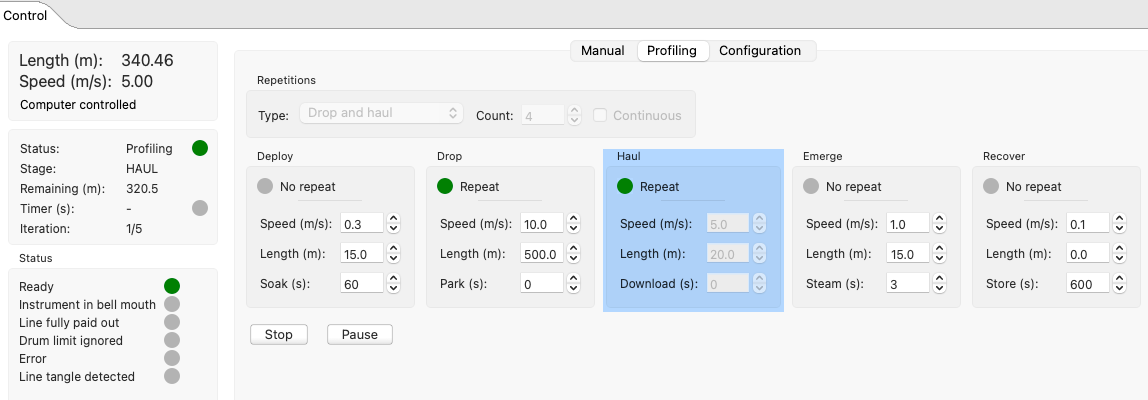
Set the Drag time to zero to move directly to the next stage.
At this point the cycle will start its repetitions. It will go back to Drop, then to Haul again, four more times. This means the total number of iterations will be five. With Park and Download times set to zero, there will be no pause between stages. After completing the last iteration, the winch will move to Emerge.
|
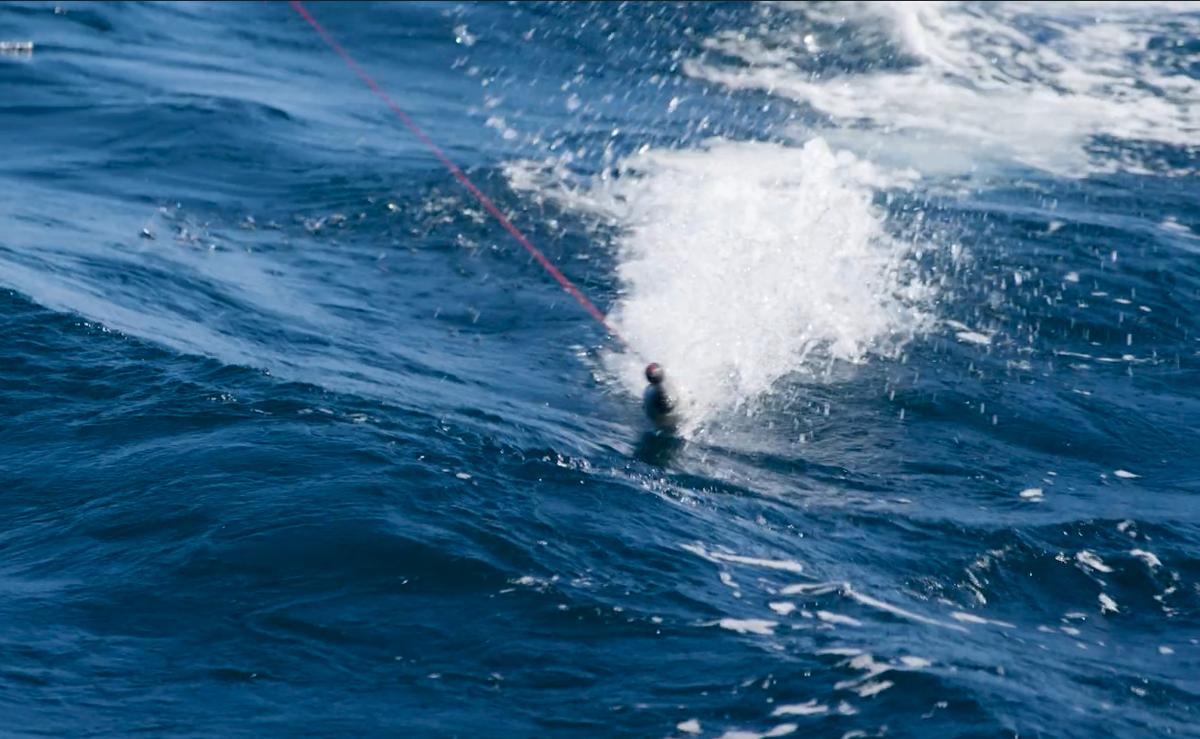
|
-
Recover
Very slowly (at 0.1m/s) lift the instrument to the bell mouth until it safely stops. This corresponds to a zero position. The instrument will remain in the bell mouth for 600s to enable safe download.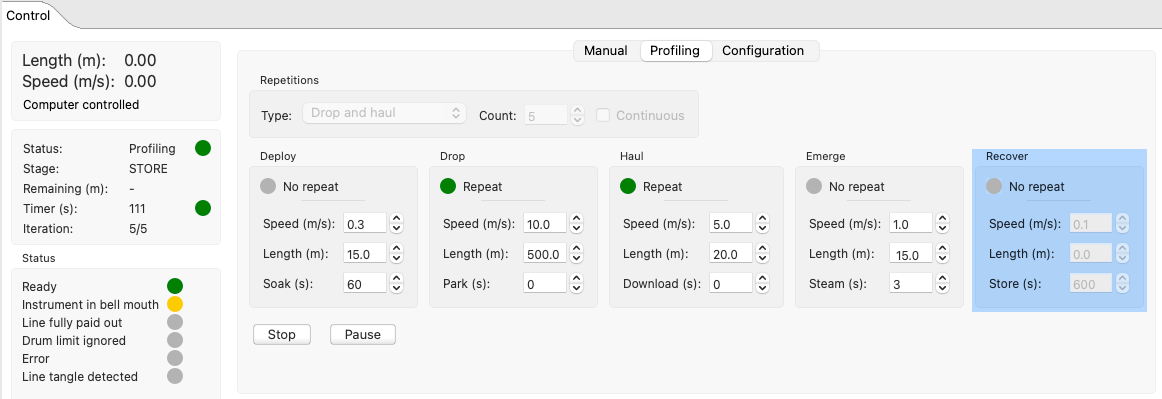
|
Depending on your profiling parameters, you could automatically download the datasets after during Haul, Emerge, and Recover stages. Select such values of Length (m) and Download (s) which allow for the Wi-Fi signal to reach your laptop. Refer to Automatic downloads for details. |
Monitor the winch operation in the Plot window. The speed of the winch and the line length will be displayed, along with any notifications and warnings which might take place.