Replacing the batteries
RBR ships new instruments with lithium thionyl chloride batteries included. Replace the batteries before each deployment to maximise the operational time and prevent data loss.
Ruskin software estimates the remaining battery life during deployment by tracking power consumption in mAh. When setting up your deployment on Ruskin, check "Fresh" to indicate that new batteries are installed.
If using the same batteries for a subsequent deployment, do not check "Fresh" and continue power tracking from the previously recorded level.
See Ruskin User Guide: Standard Instruments3 for more information on predicting battery life.

Replacing the batteries
| Step | Description | Images | ||
|---|---|---|---|---|
1 |
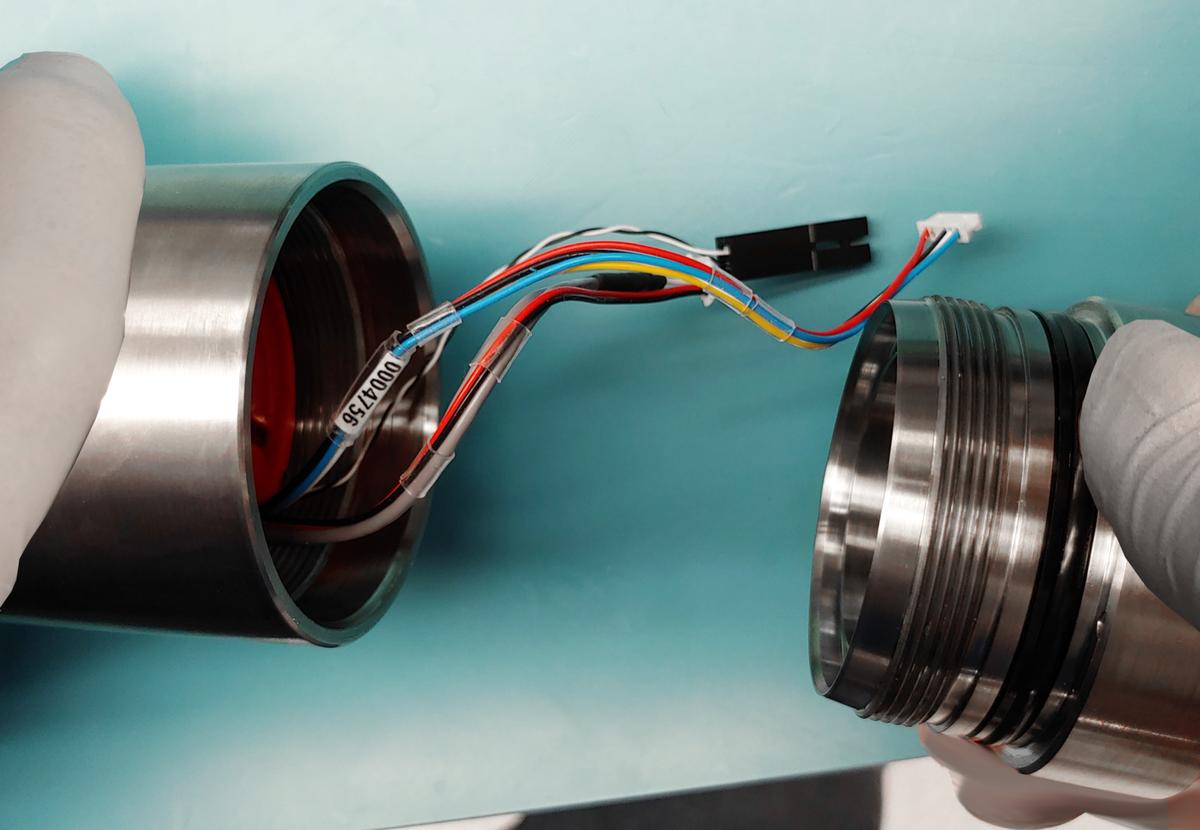
Open the instrument and disconnect the wiring.
|
|
||
2 |
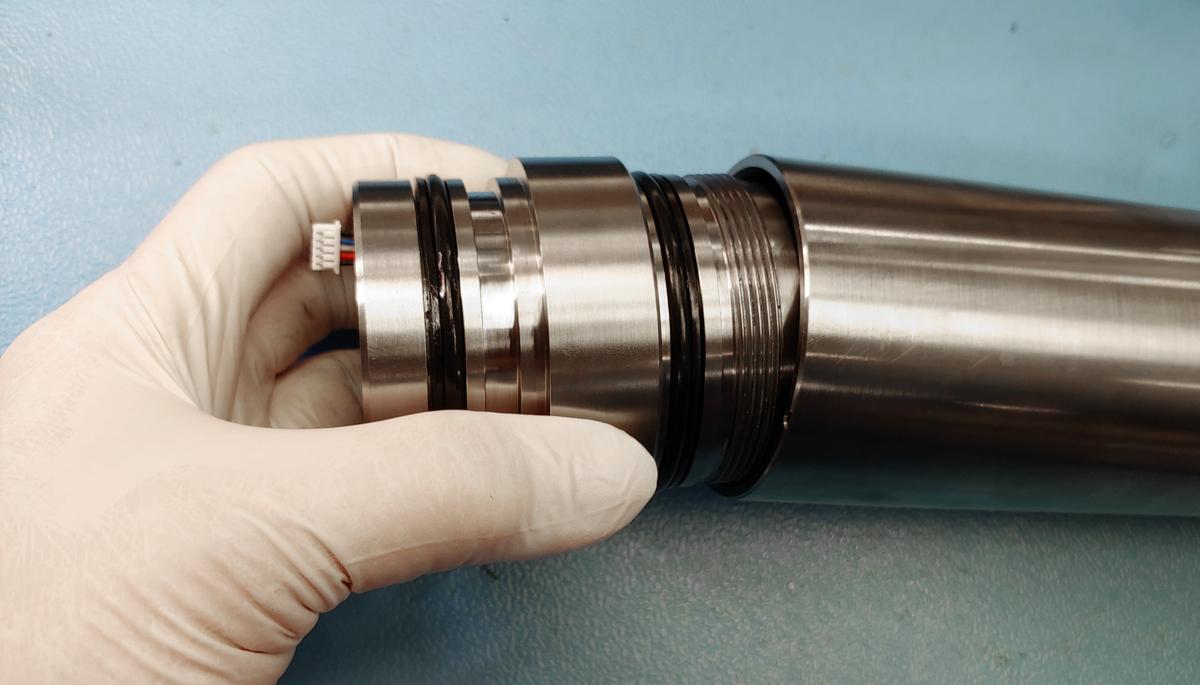
Unscrew the coupling piece to expose the battery carriage assembly. |
|
||
3 |
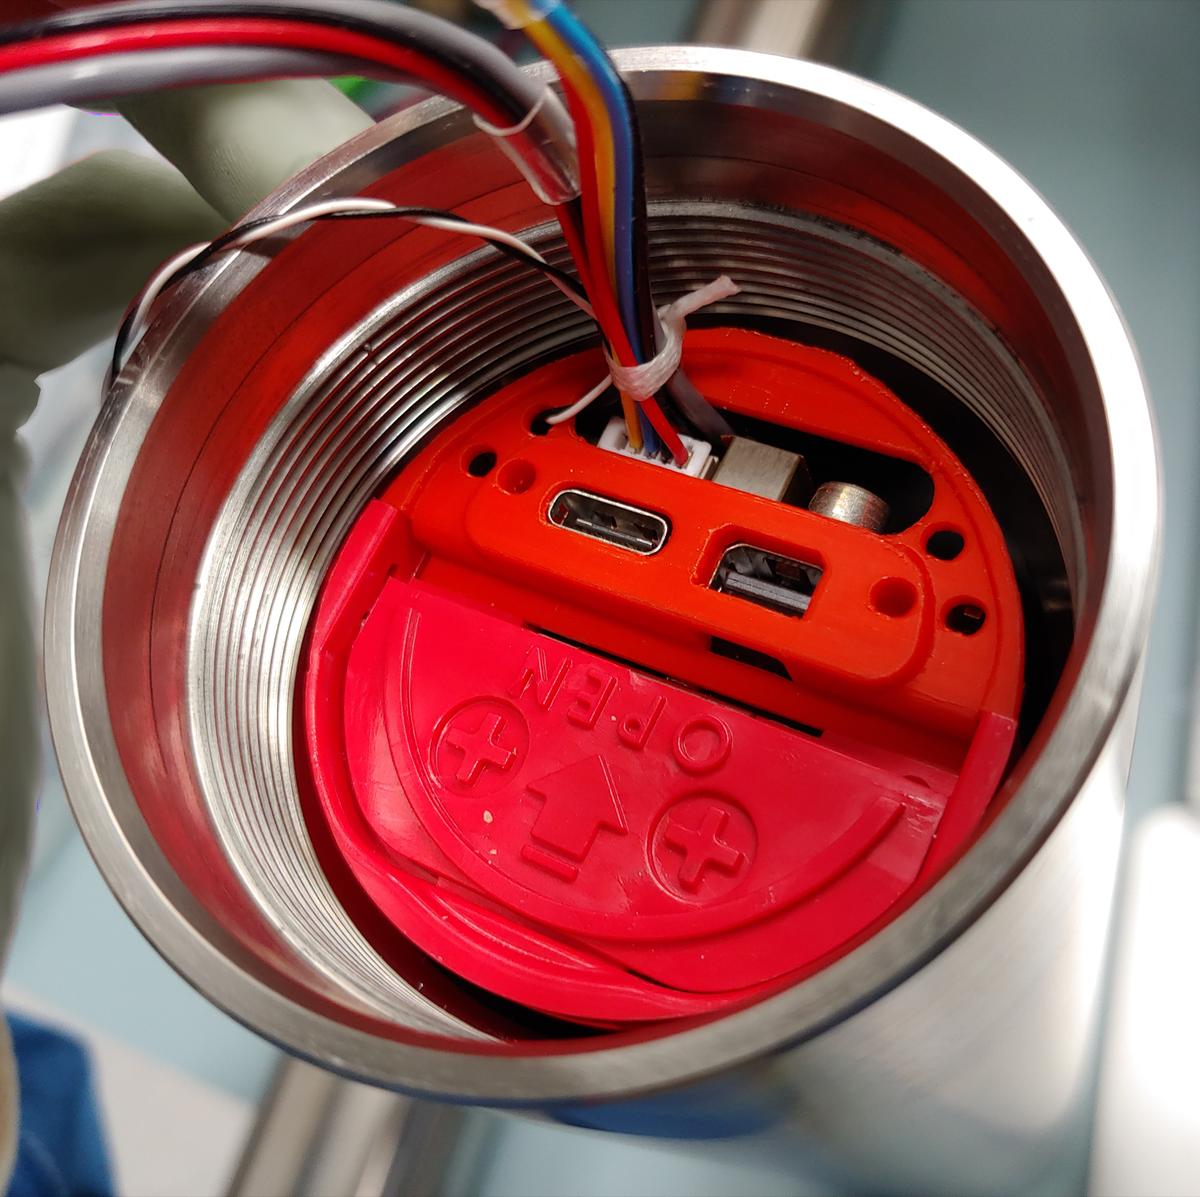
Push on the arrow to open the battery door. |
|
||
4 |
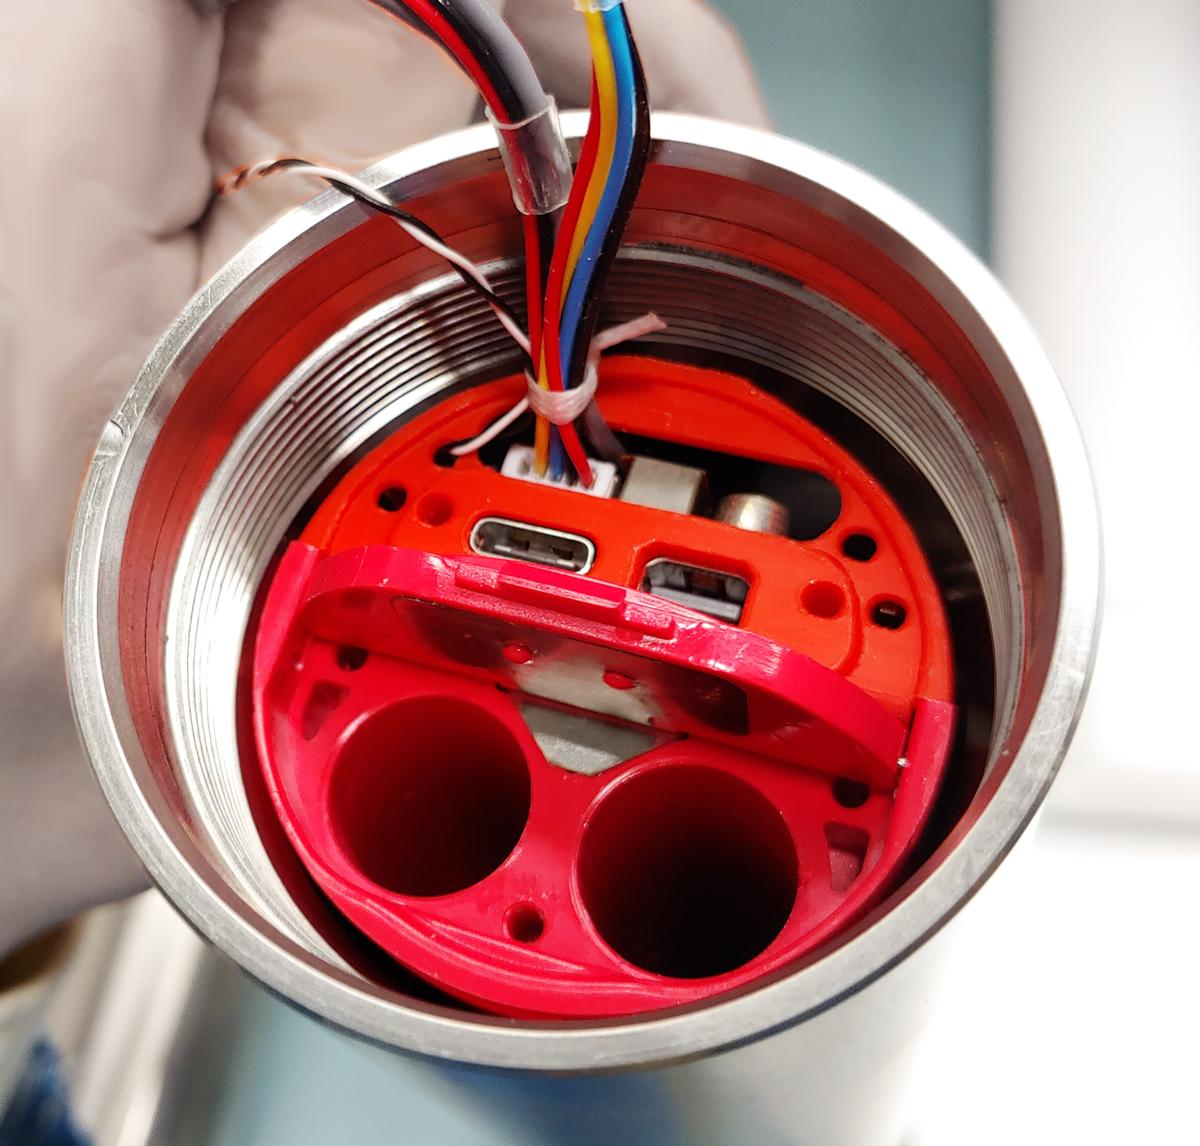
Remove eight old batteries. |
|
||
5 |
Install eight new AA-type batteries, with the negative ends down. |
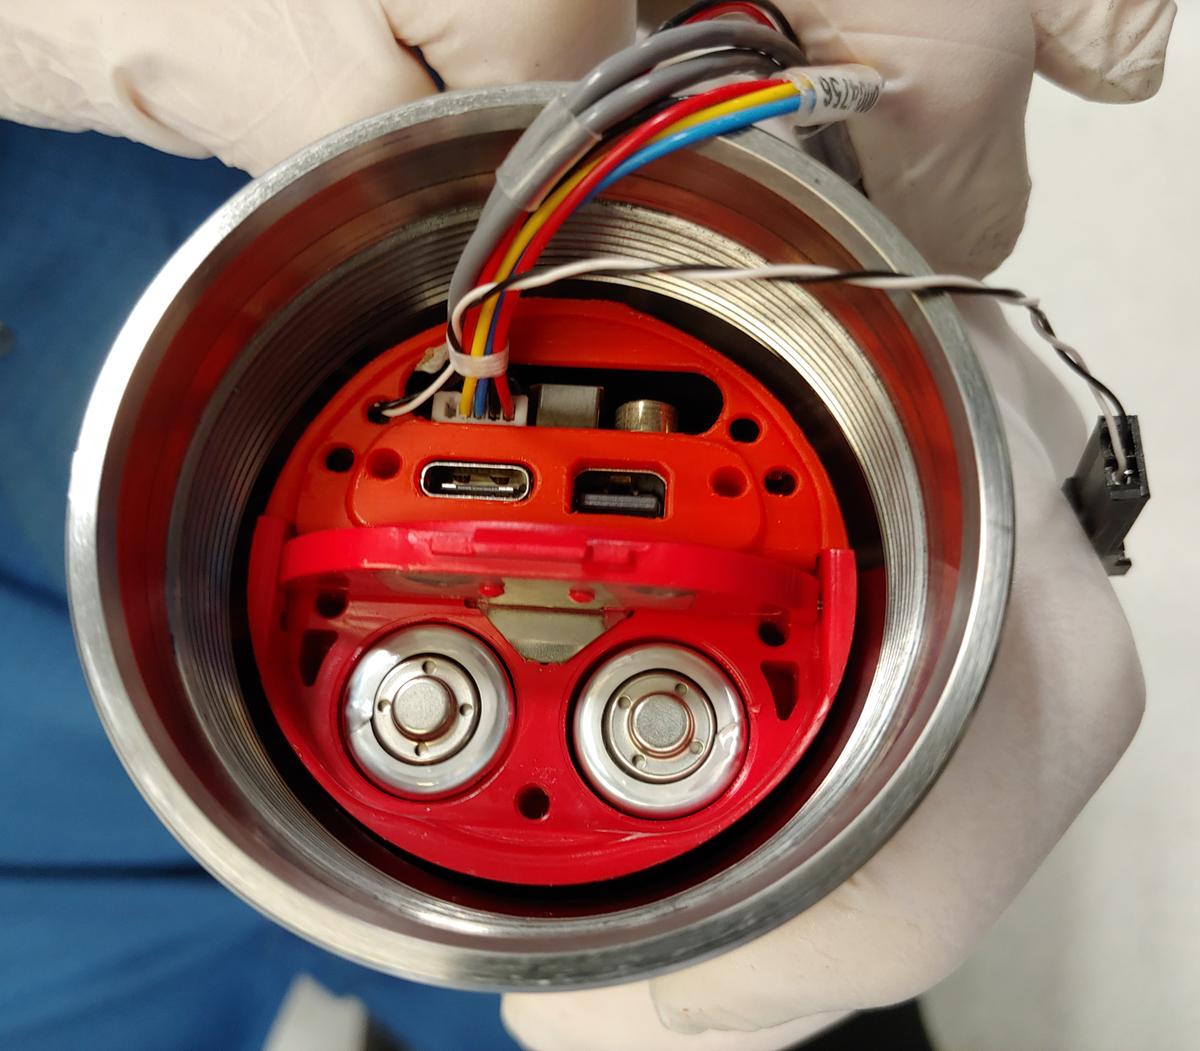
|
||
6 |
Close the battery door. |
|
||
7 |
Replace the O-rings on the coupling section. Lubricate with a small amount of silicone compound. |
|||
8 |
Inspect the threads on the housing and on the coupling piece to ensure they are clean and undamaged. |
|||
9 |
Screw the coupling piece back onto the housing. |
|||
10 |
Reconnect the wiring and close the instrument. |
|||
|
Always remove the batteries from your instrument during long-term storage! |