Opening and closing the instrument
Opening the RBRquartz³ APT
|
Do not attempt twisting the housing sections at any joint while the two halves of the instruments are together. The RBRquartz³ APT has internal wires which may be damaged by such actions. |
The only proper way of opening the RBRquartz³ APT is to disconnect it in the middle into two halves first. Follow the steps below.

RBRquartz³ APT
| Step | Description | Images | ||
|---|---|---|---|---|
1 |
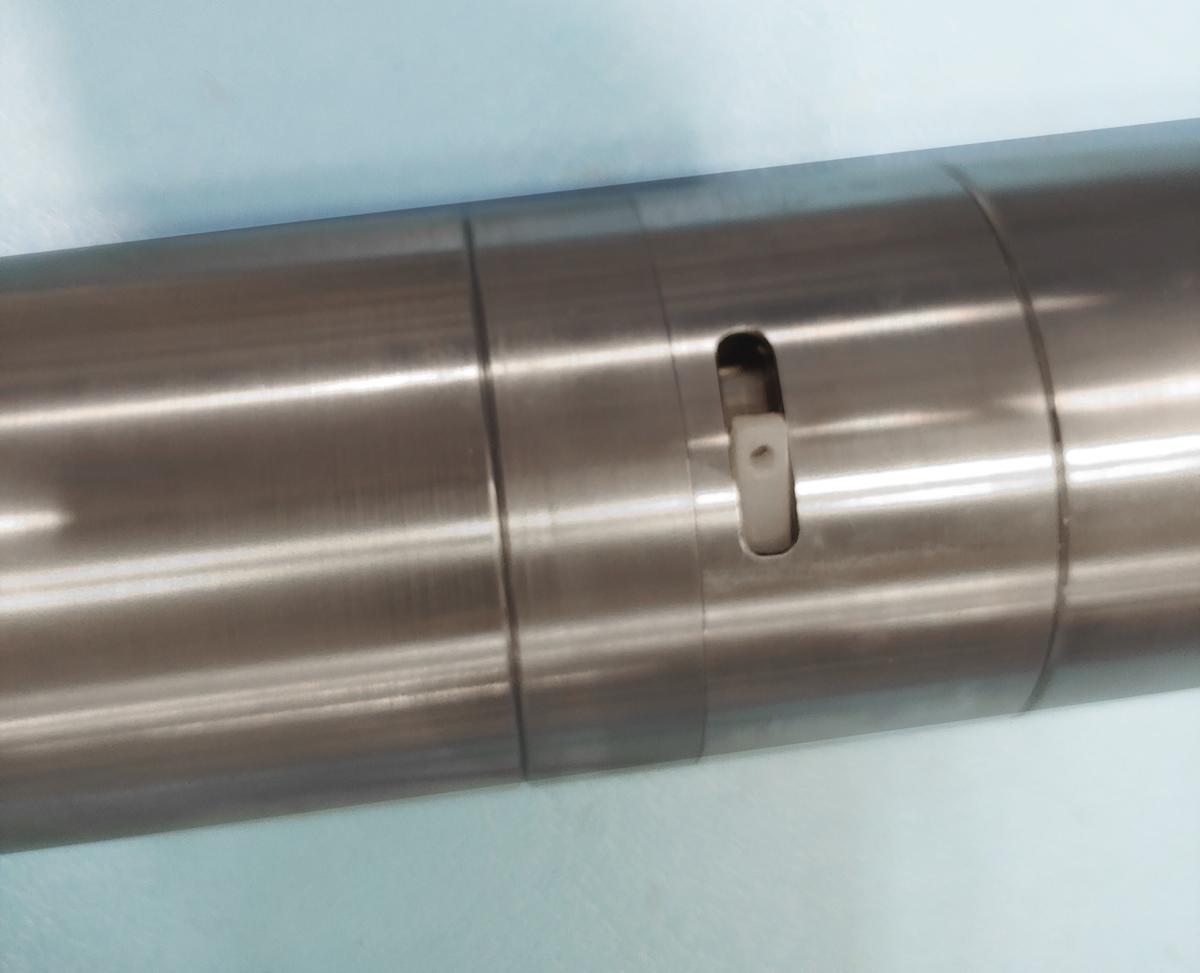
Locate the nylon locking strap on the side of the instrument. The exposed edge has a hole in it. |
|
||
2 |
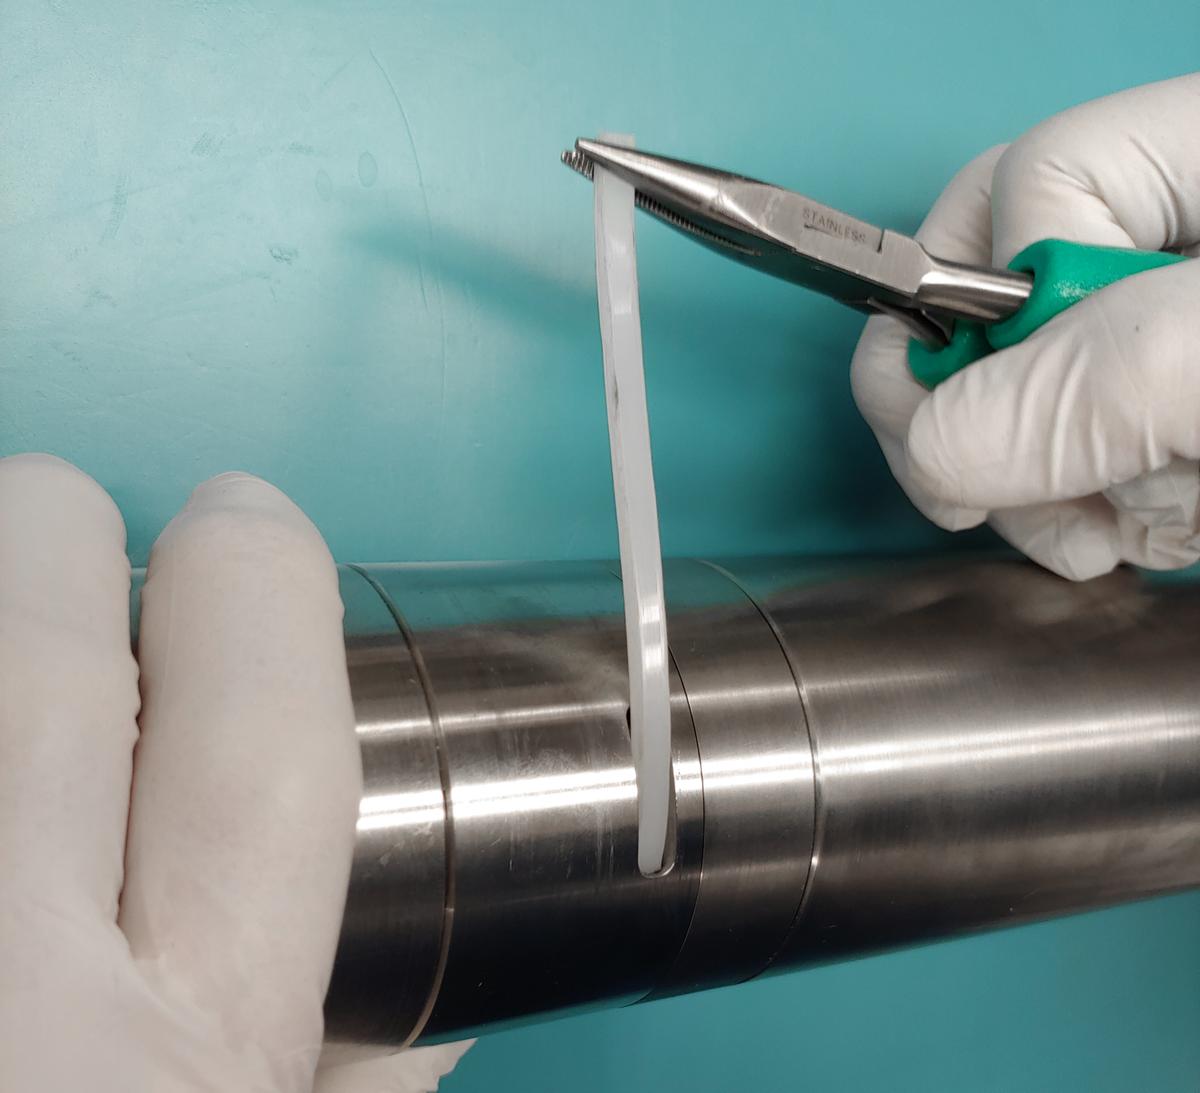
Using a pair of pliers, pull the nylon strap out of its locking groove.
|
|
||
3 |
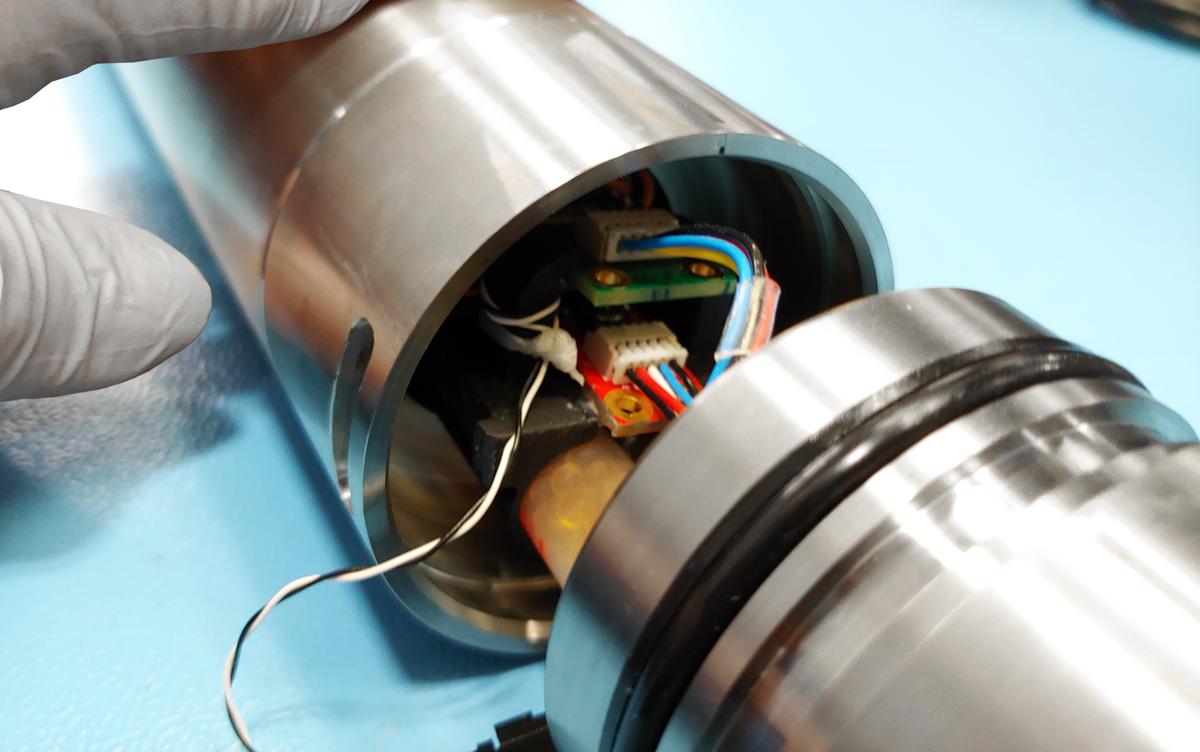
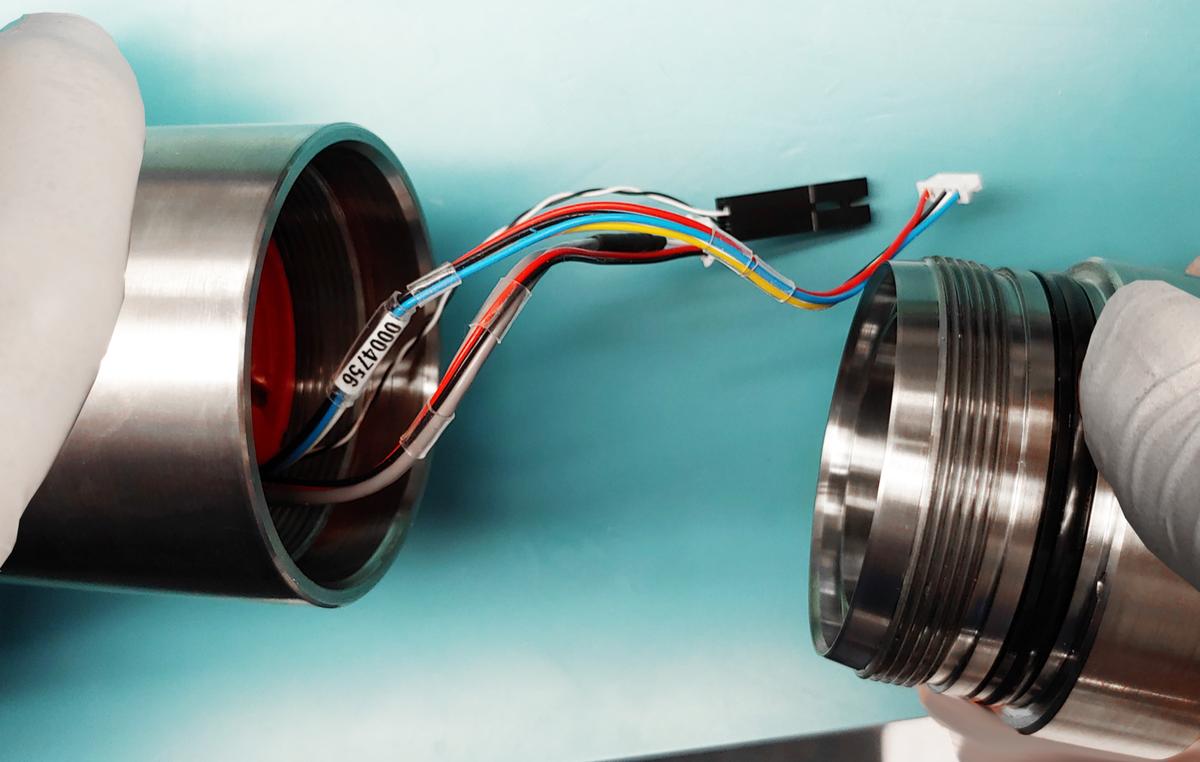
Gently pull apart the two halves of the instrument. The wire assemblies allow for a gap of about 60mm. |
|
||
4 |
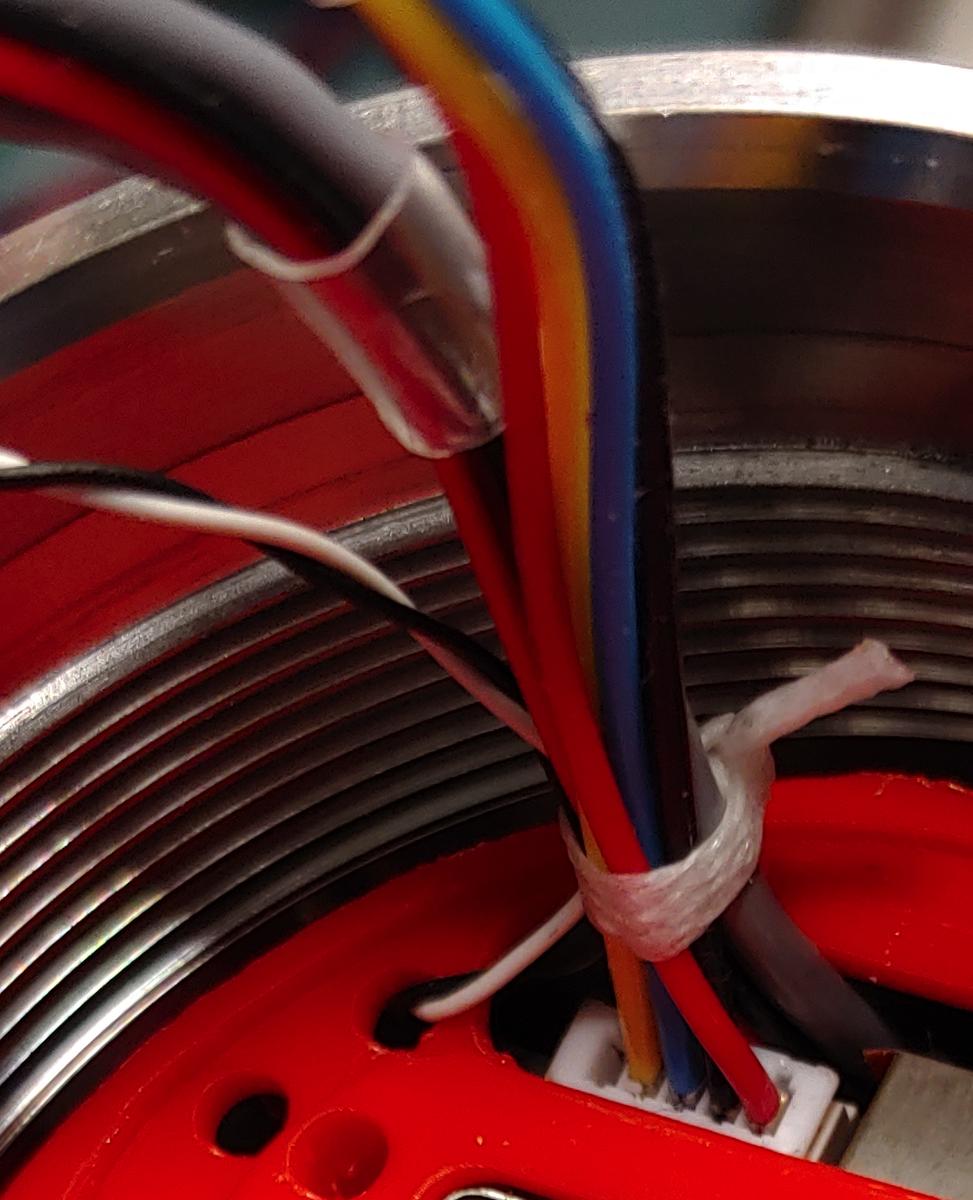
Remove the strain relief lacing tape and nylon straps from the wire assemblies. |
|
||
5 |
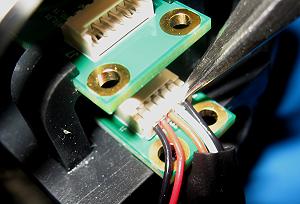
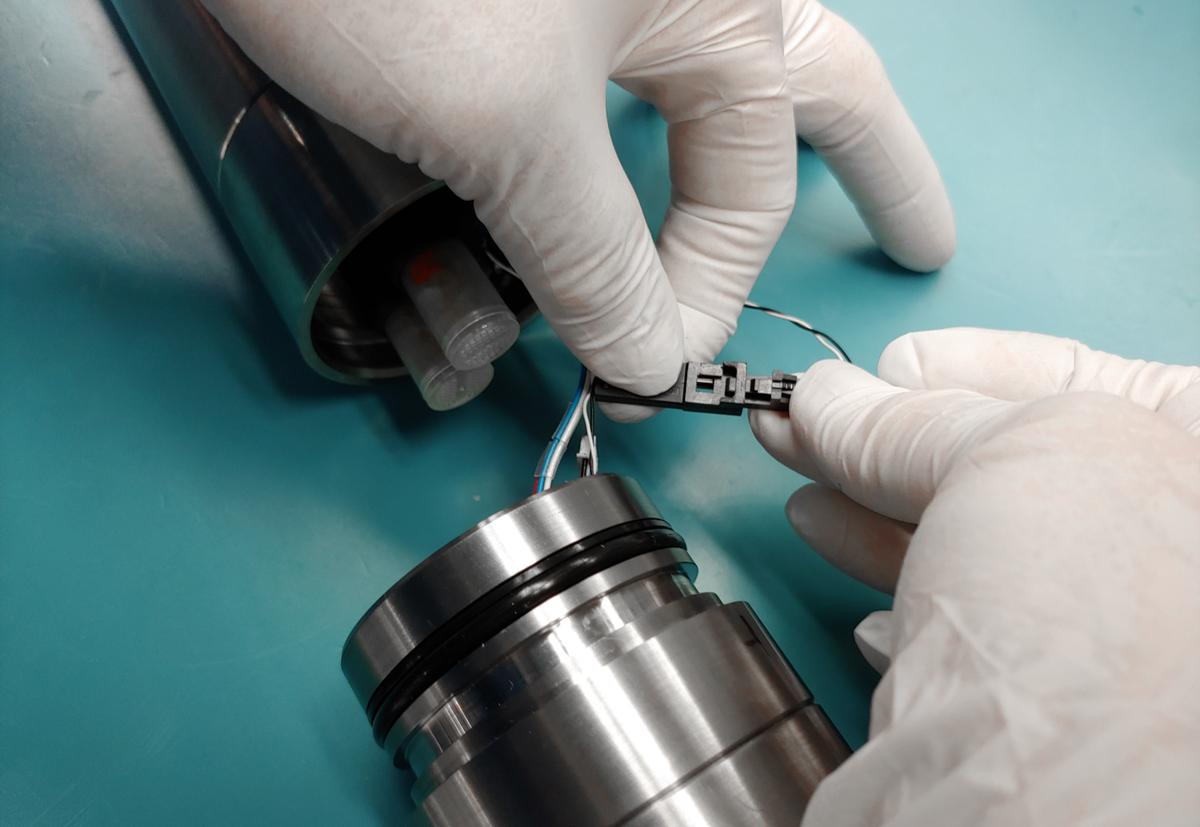
Disconnect the wire assemblies:
|
|
||
6 |
Once the wire assemblies are disconnected, the two halves of the RBRquartz³ APT can now be handled independently. |
|
Closing the RBRquartz³ APT
| Step | Description | Images | ||
|---|---|---|---|---|
1 |
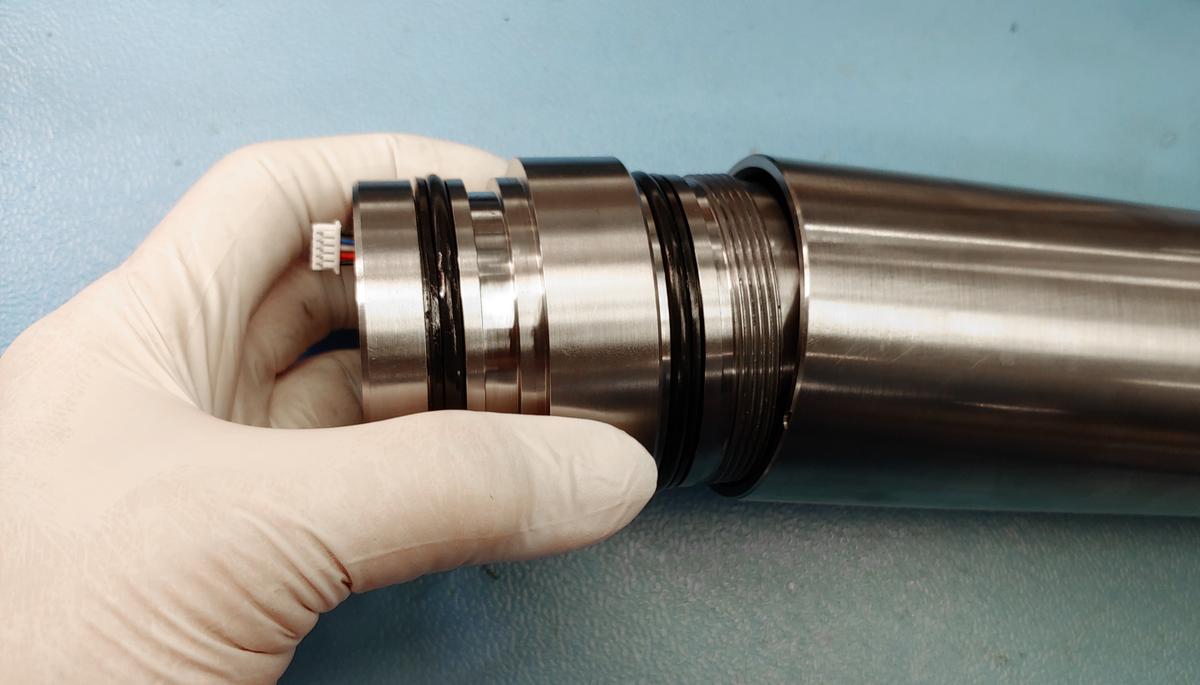
Replace the two sets of O-ringswhich were exposed when the instrument was open. |
|
||
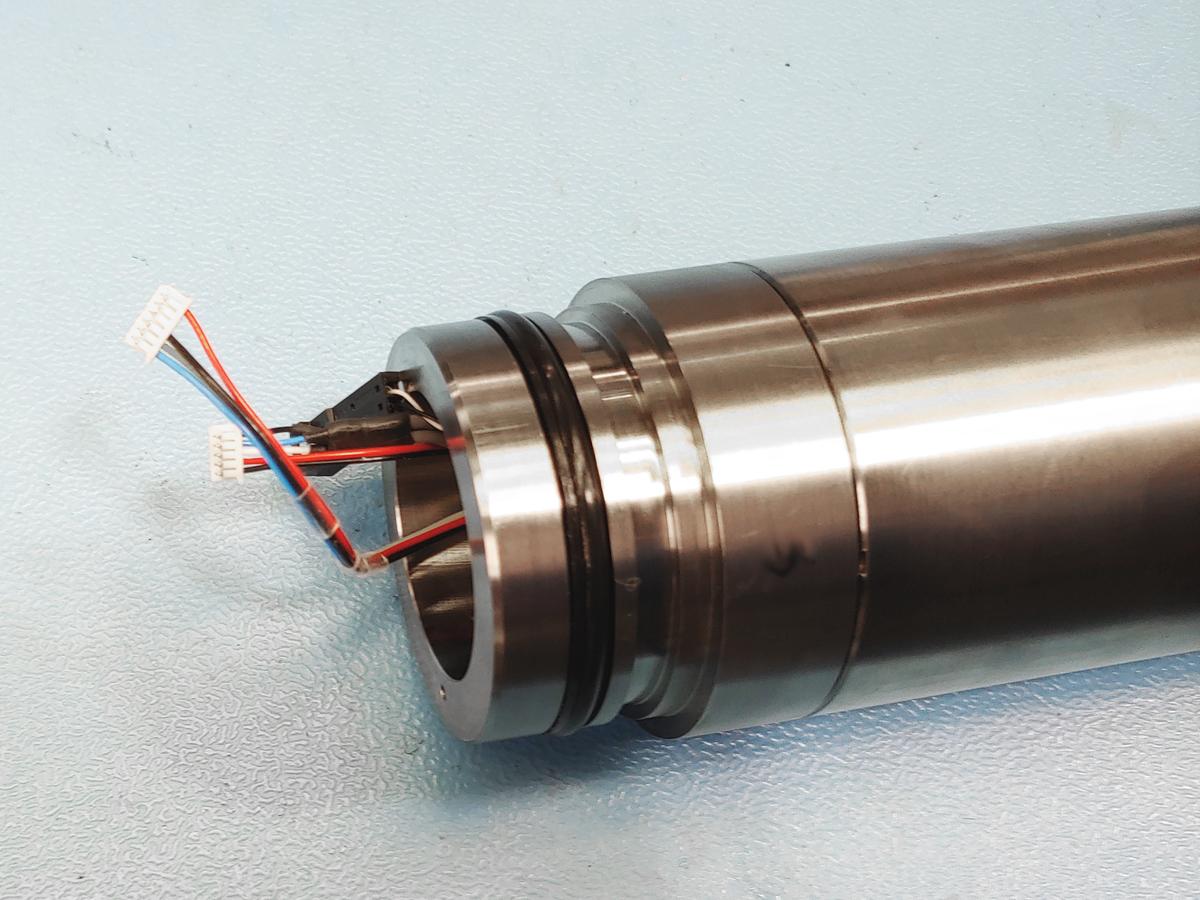
2 |
Screw the coupling back onto the instrument. |
|
||
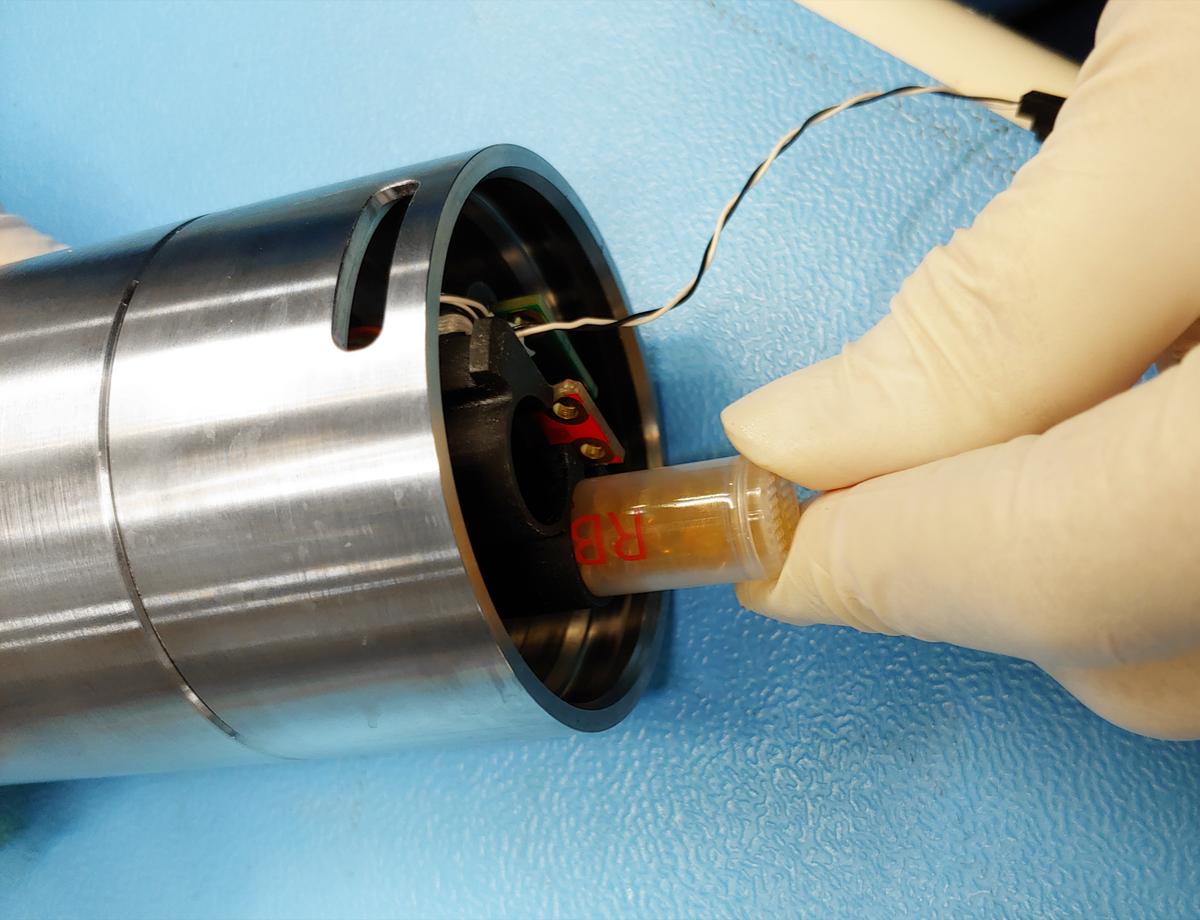
3 |
Replace the desiccant capsules. Fresh desiccant is orange. |
|
||
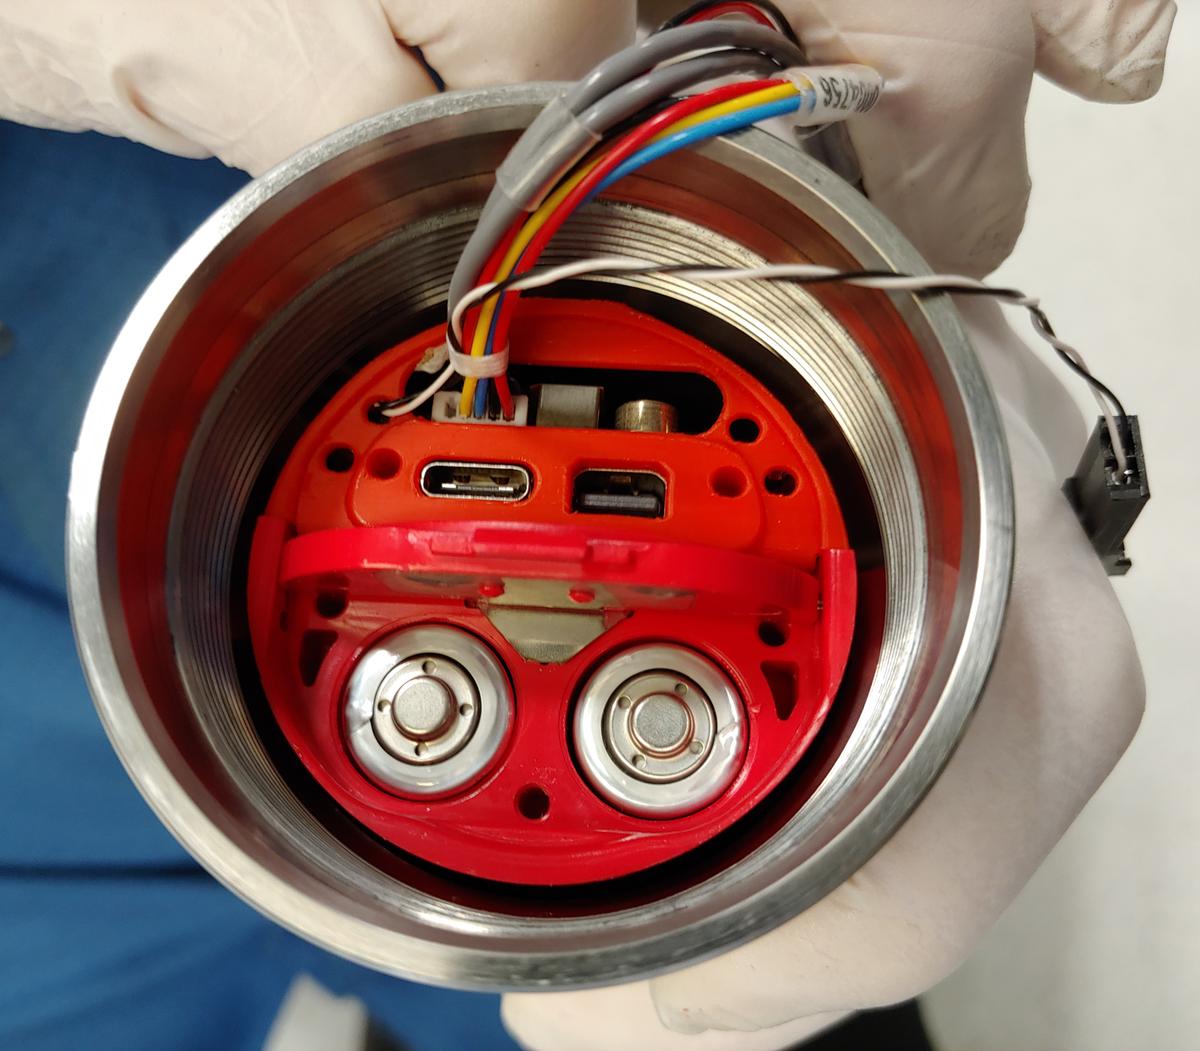
4 |
Replace the batteries, ensuring correct polarity. |
|
||
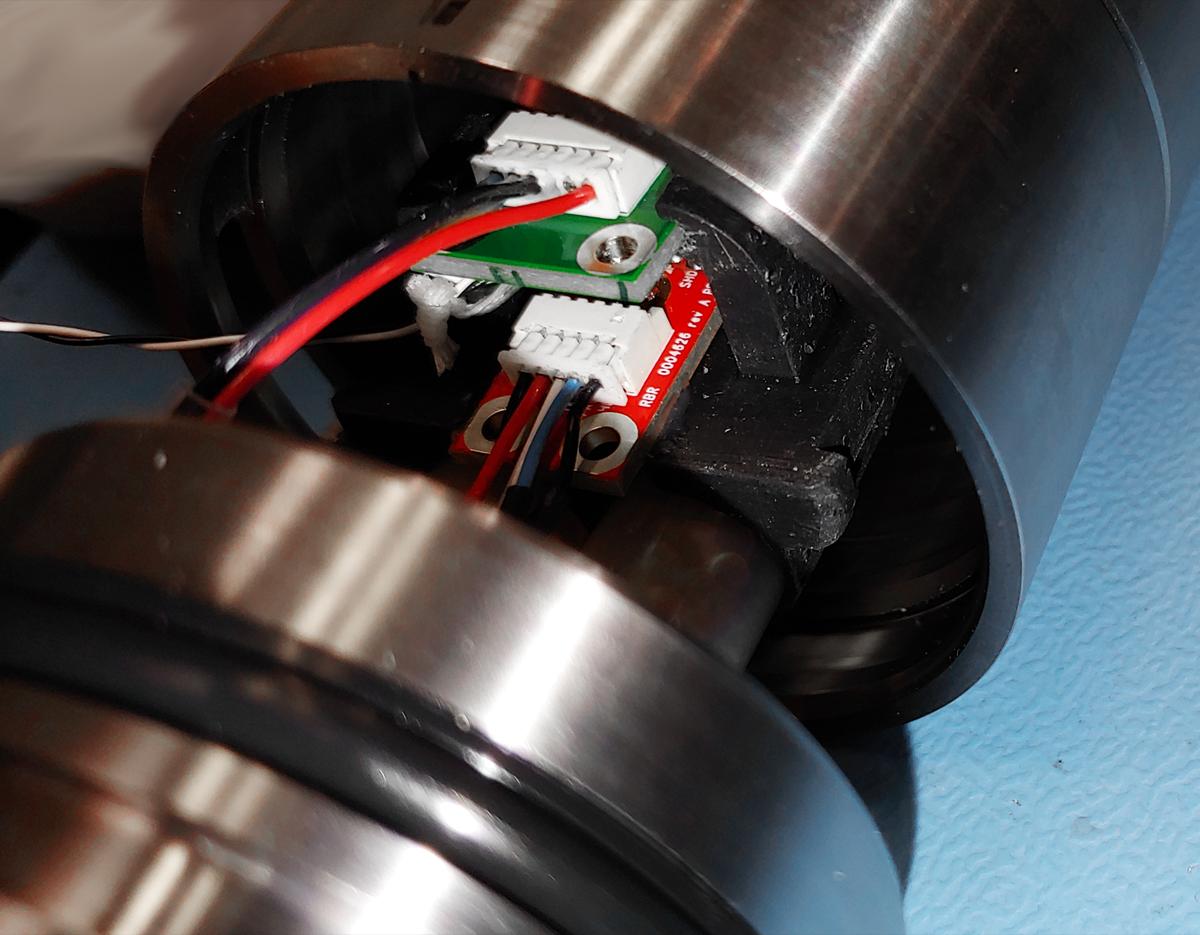
5 |
Reconnect the wiring, in this order:
|
|
||
6 |
Put the strain relief lacing tape and nylon straps on the wire assemblies. |
|
||
7 |
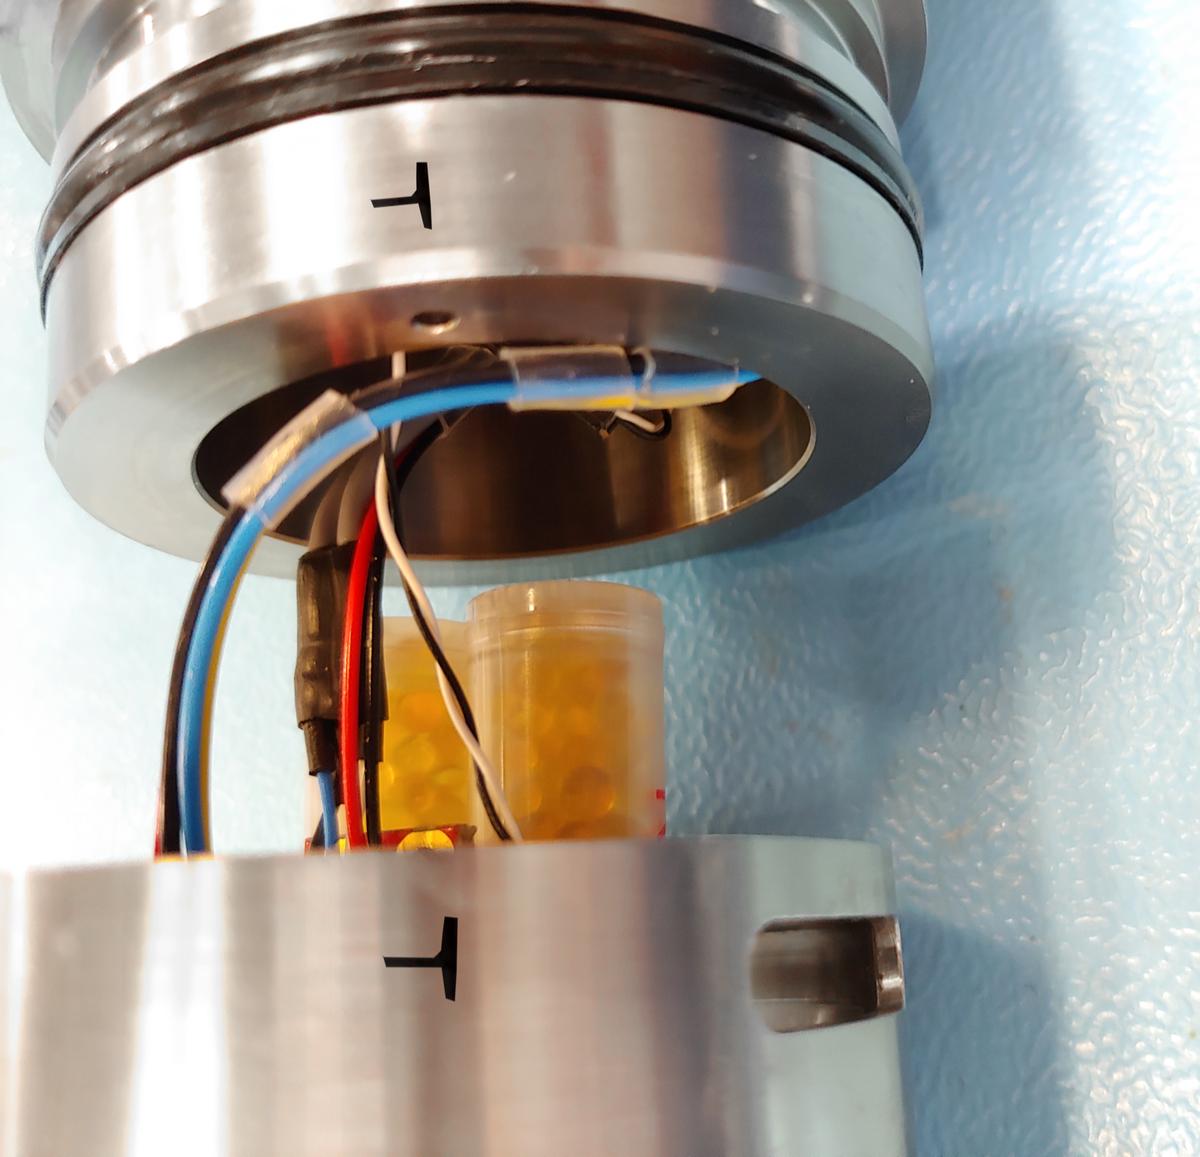
With a removable marker, mark the location of the dowel pin on outside of the housing. Also, mark the location of the mating dowel pinhole on the outside of the coupler. |
|
||
8 |
Reassemble the two halves of the instrument:
|
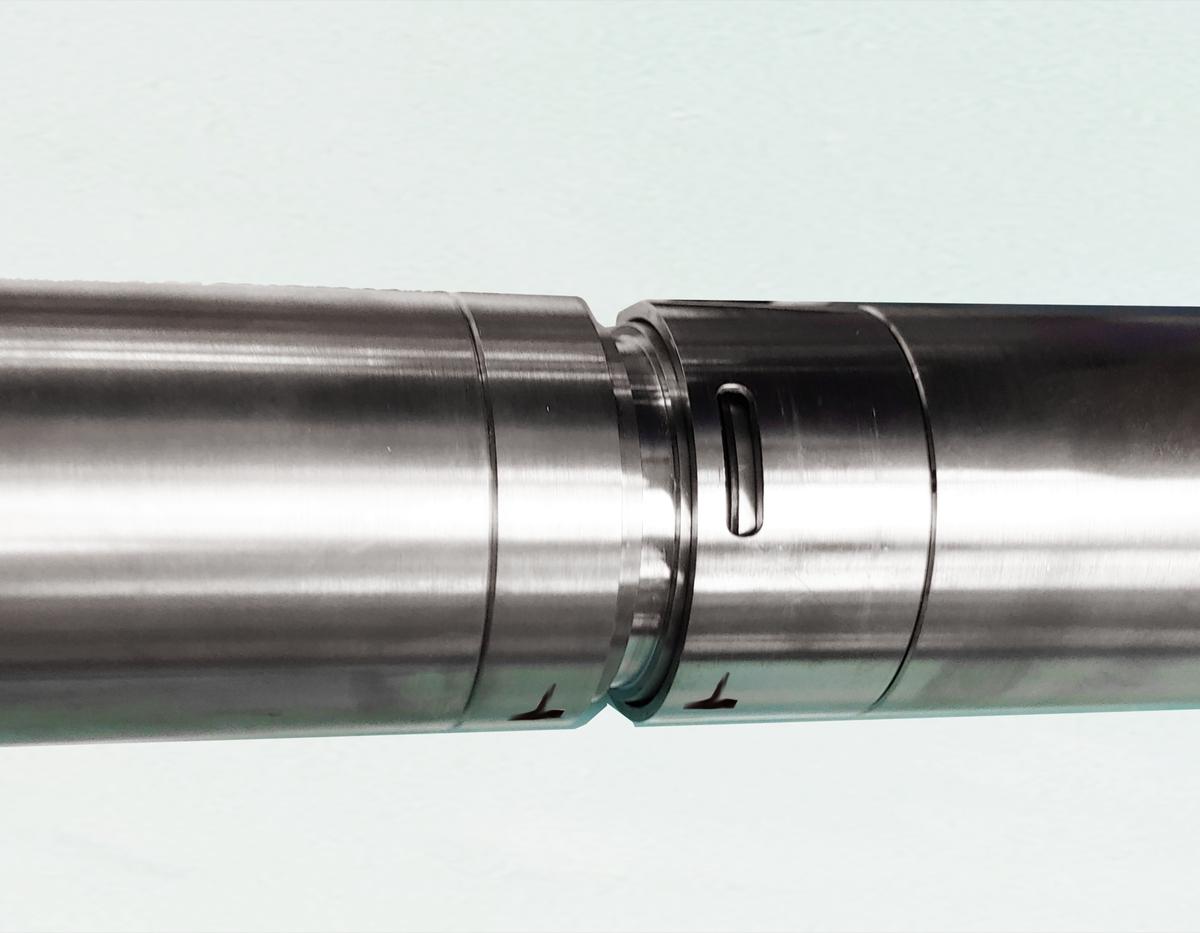
|
||
9 |
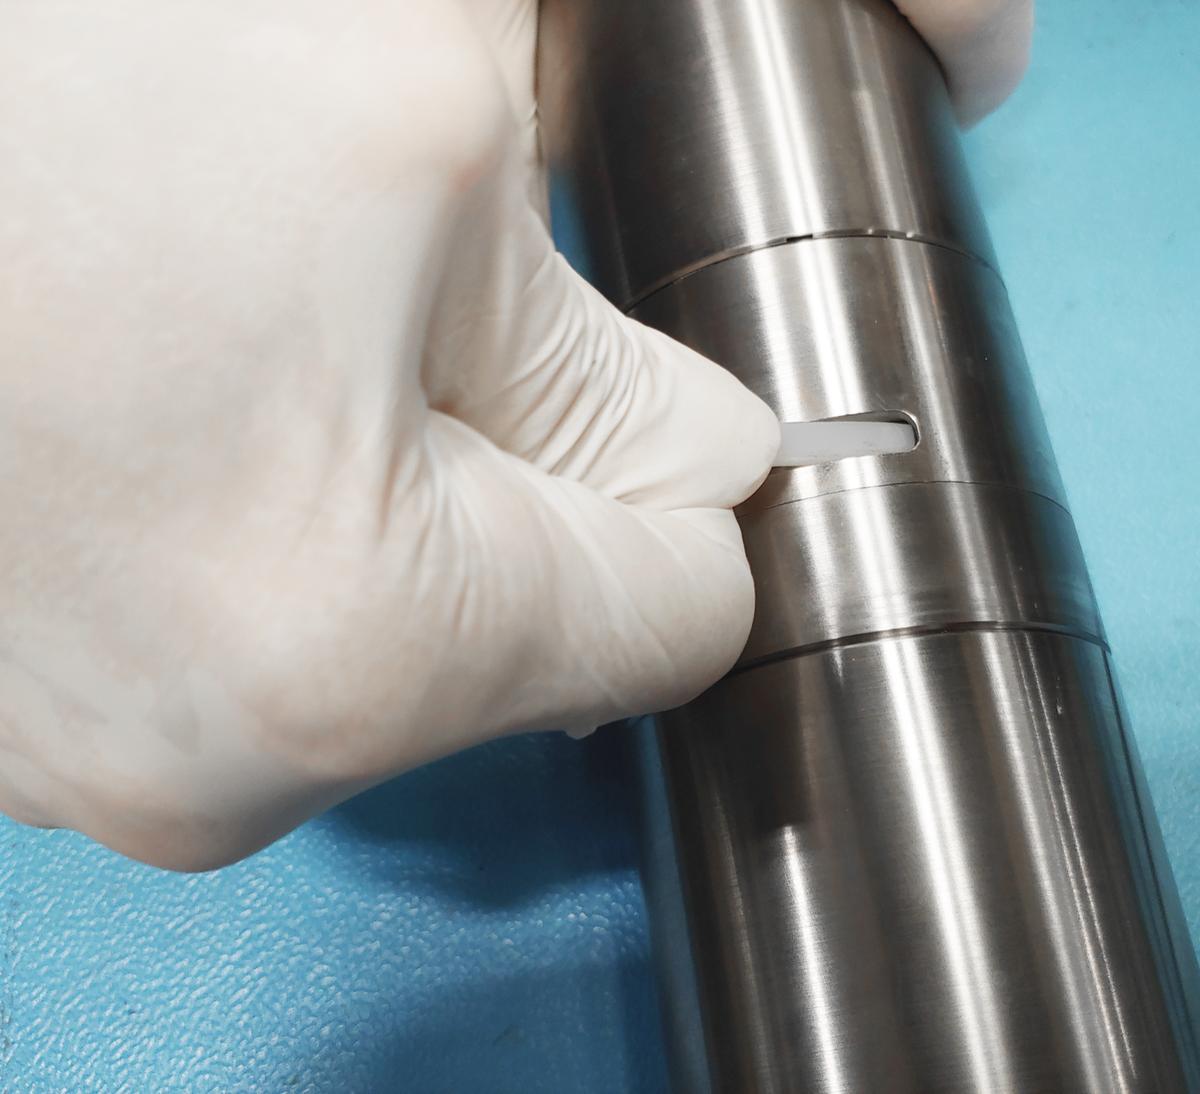
Using pliers or your thumb, push the nylon locking strap into the slot all the way in, cut-off end first. The instrument is now closed. |
|