Replace the desiccant capsule
|
Refer to Open and close a compact instrument for details on accessing the desiccant. |
Replace the desiccant capsule before each deployment.
Fresh desiccant will keep the instrument compartment dry and prevent malfunction. Water damage may occur if condensation forms inside the instrument.
As a preventative measure, RBR recommends servicing the instrument in a cool, dry place (when possible).
Replacing the desiccant capsule
-
Open the instrument and pull out the sensor carriage.
-
Push the desiccant capsule out of its holder using your finger or a blunt tool.
-
Insert a new desiccant capsule into the holder.
-
Insert the sensor carriage into the housing and close the instrument.
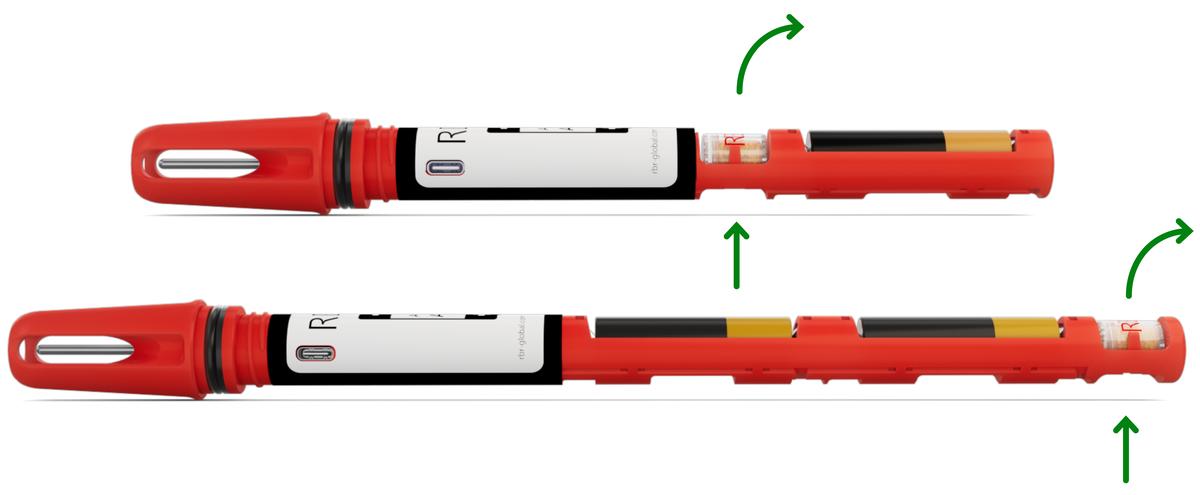
All instruments ship with fresh reusable desiccant capsules. They use a cobalt-free colour changing indicator dye. Orange indicates fresh desiccant, while green indicates it is saturated (about 15% water by weight). Once exhausted, the capsules can be replaced with new ones (available from RBR), or refreshed. |
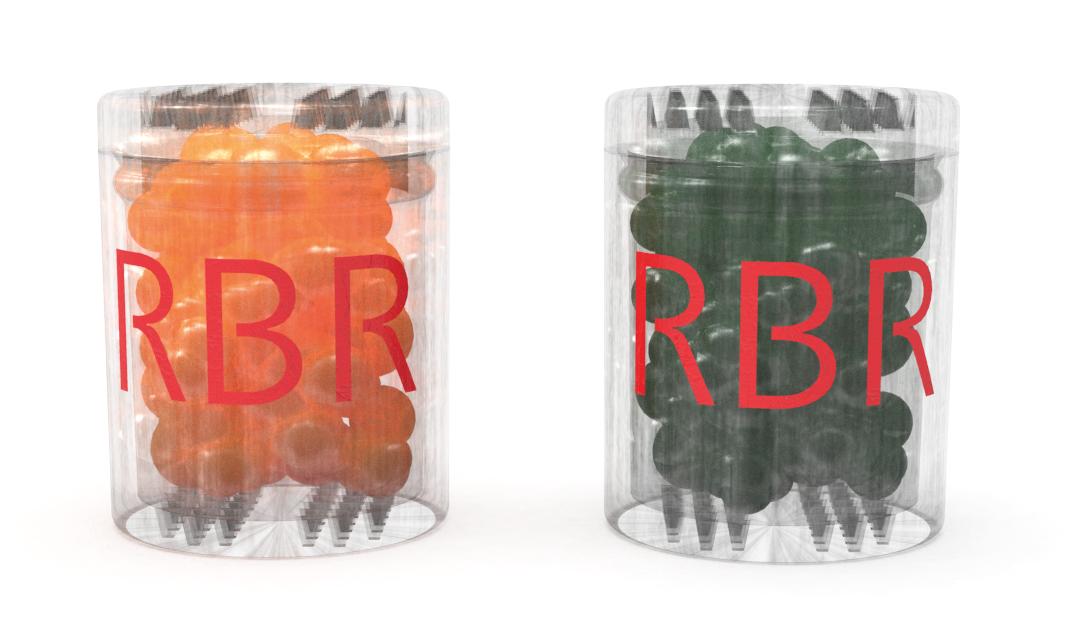
Fig. 19. Fresh (orange) and saturated (green) desiccant capsules.
|
Refreshing the desiccant
Follow the steps below to refresh the desiccant.
-
Remove the saturated silica beads from their capsule.
-
Place them in the oven and heat at 120°C (250°F) for about two hours.
-
Take the refreshed beads out of the oven and return them to the capsule.
-
Wait until the silica beads cool down. Once cool, the desiccant is ready to be reused.
|
Always remove the beads from their capsule before refreshing. The capsule will deform if heated to 120°C. |
|
Return the refreshed beads to the capsule immediately after reheating. If left outside the capsule, the desiccant will trap moisture and go back to green. |