Coupling the turbidity sensor
The turbidity sensor in the RBRsolo³ Tu is connected to the instrument via a coupler. The instrument has a custom-made female connector, which fits the male connector of the sensor. The coupler has two flanges with opposing threads. New instruments are shipped with the coupler securely tightened, making this connection watertight.
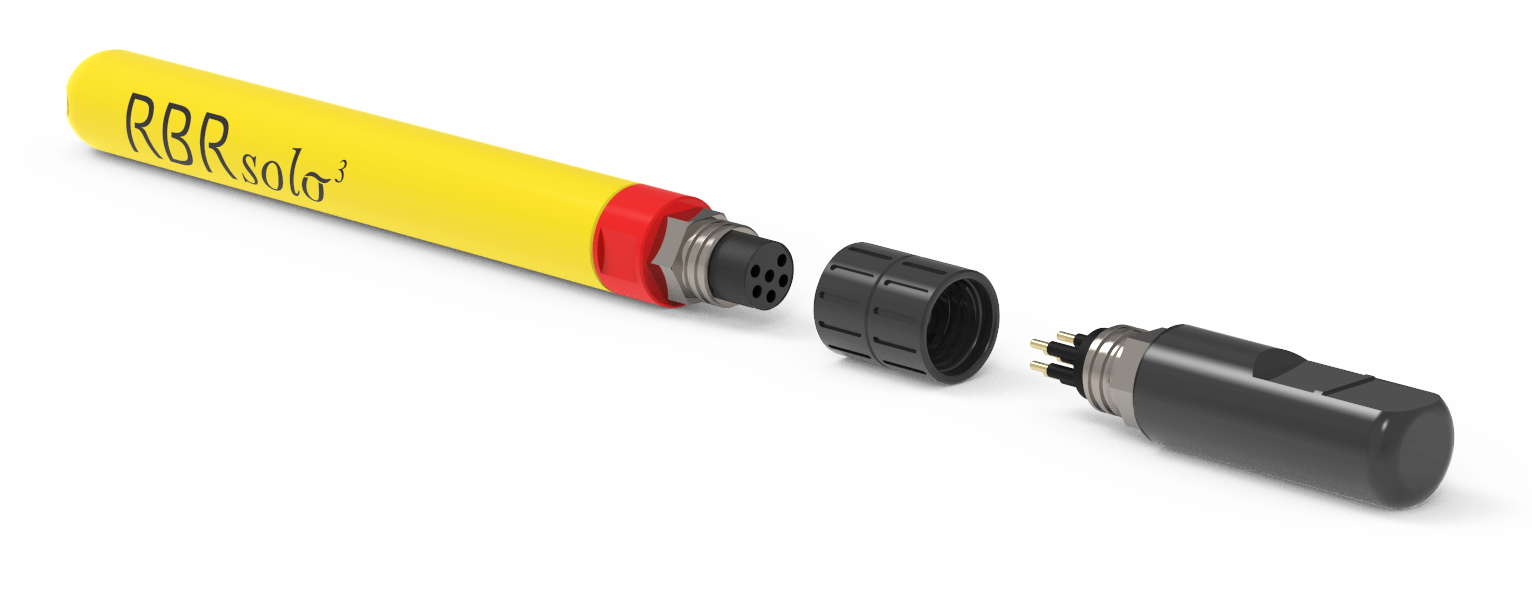
Typically, you will never need to disconnect the sensor from the instrument. However, before deploying the RBRsolo³ Tu, it is important to verify that the coupler has not become loose. If that happens, you will see a small gap between the sensor and the coupler, or between the coupler and the base of the connector. Gently tighten the flanges to protect your instrument during deployment.

In rare instances, it may become necessary to disconnect and reconnect the turbidity sensor. Follow the steps below.
| Step | Description |
|---|---|
1 |
Disconnect the sensor
|
2 |
Access the female connector
|
3 |
Lubricate the female connector (see Cables and connectors) |
4 |
Reconnect the sensor
|
|
Occasionally, the left flange may begin to loosen while you are tightening the right one. It usually means that the pins did not mate properly. Carefully align the pins again and press harder. Wiggle the sensor gently to make sure the pins are inserted. |