Deploying the RBRcervello Antarctica
Installing the RBRcervello Antarctica on site
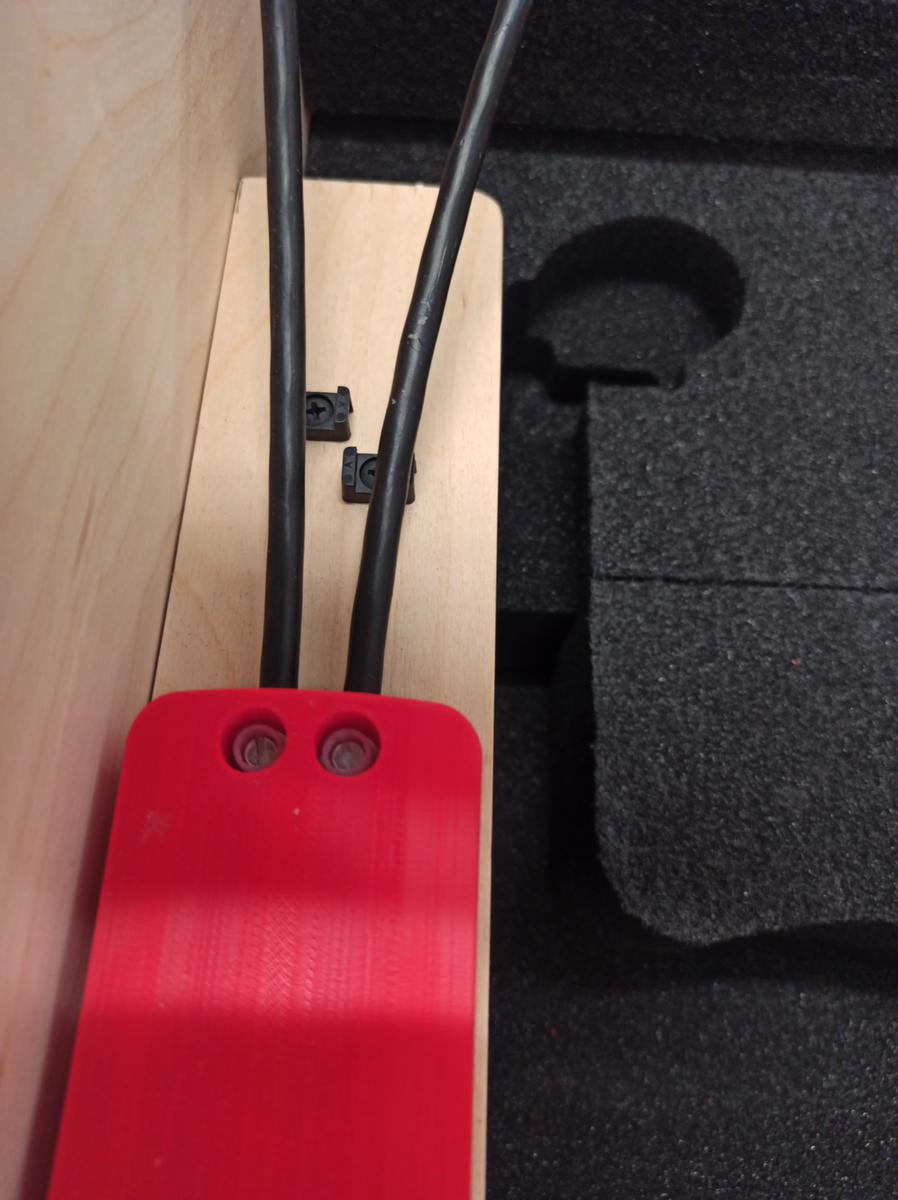
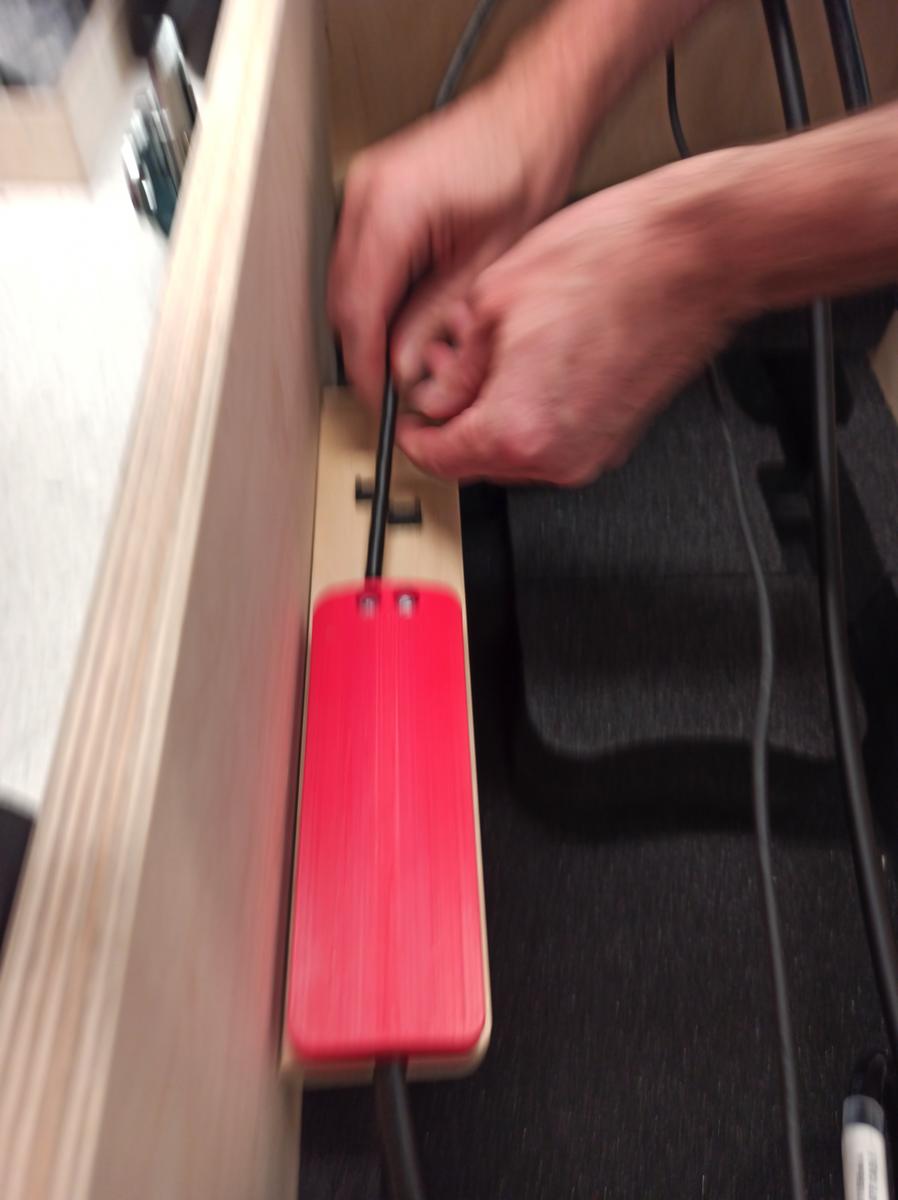
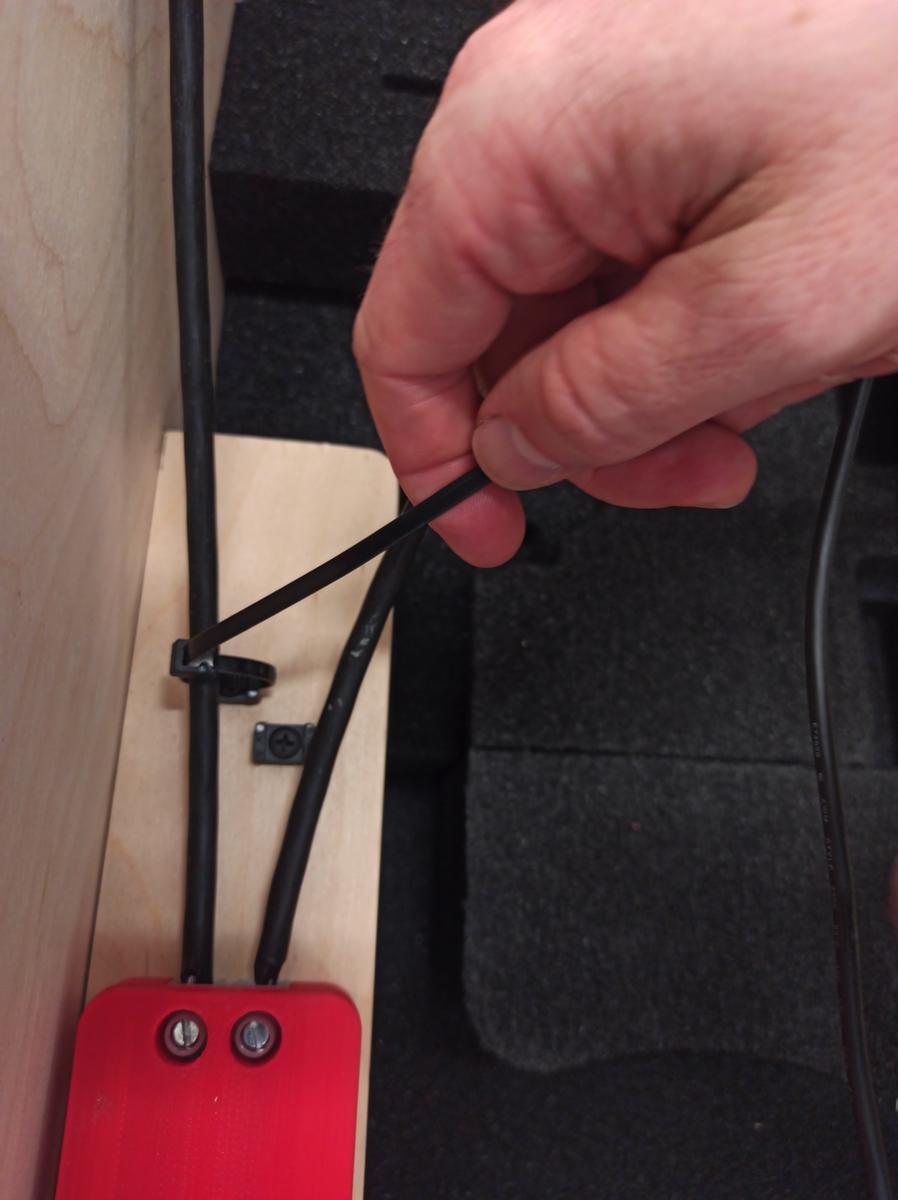
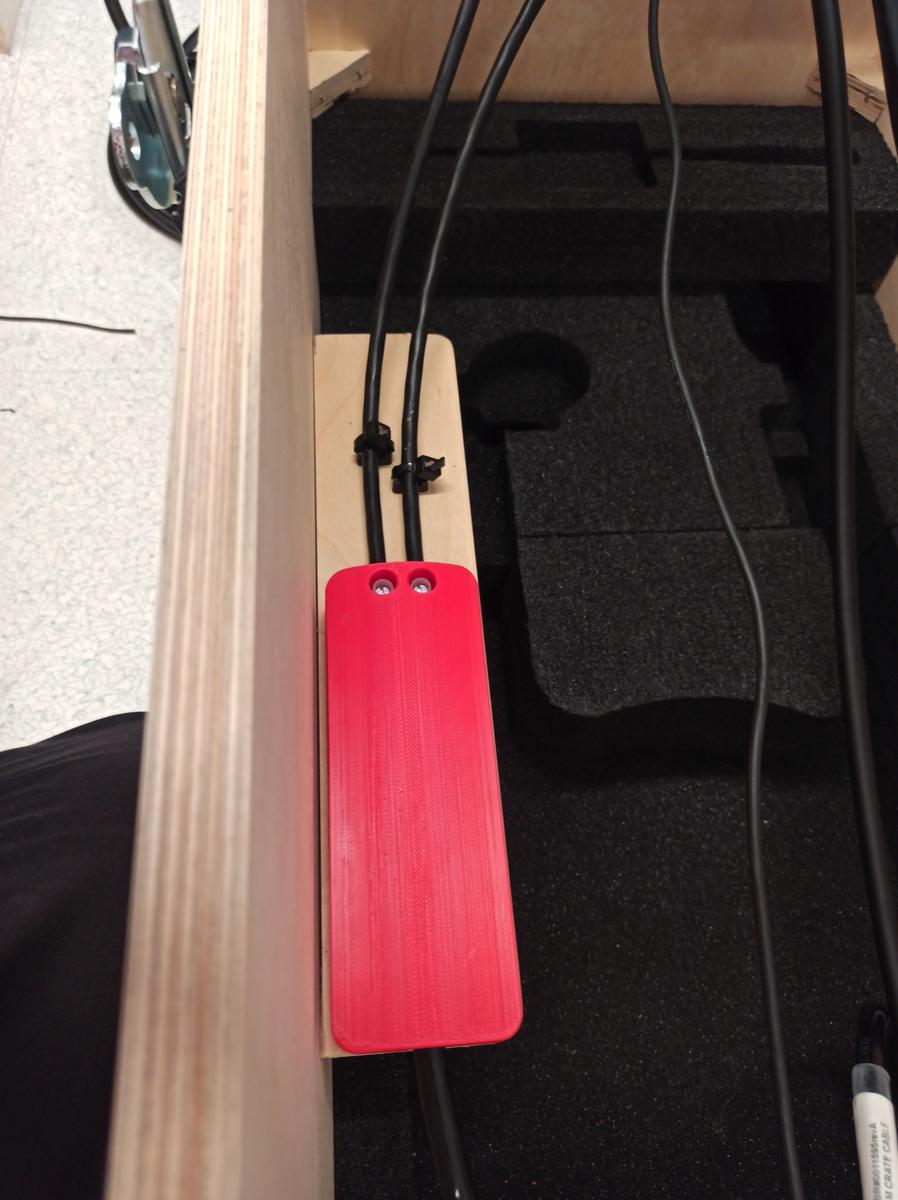
Follow the steps below to set up the RBRcervello Antarctica on site.
|
|
|||||
|
|||||
|
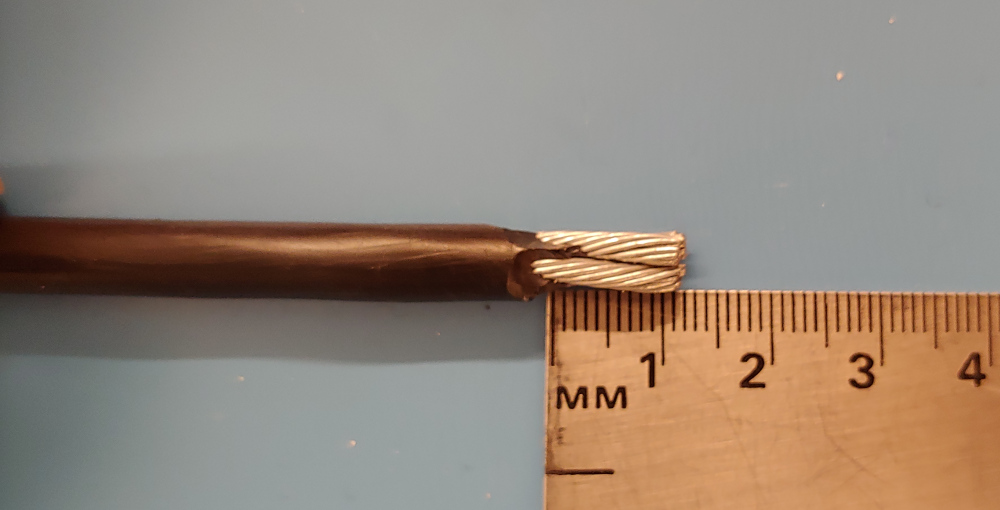
|
||||
|
|
||||
|
|
||||
|
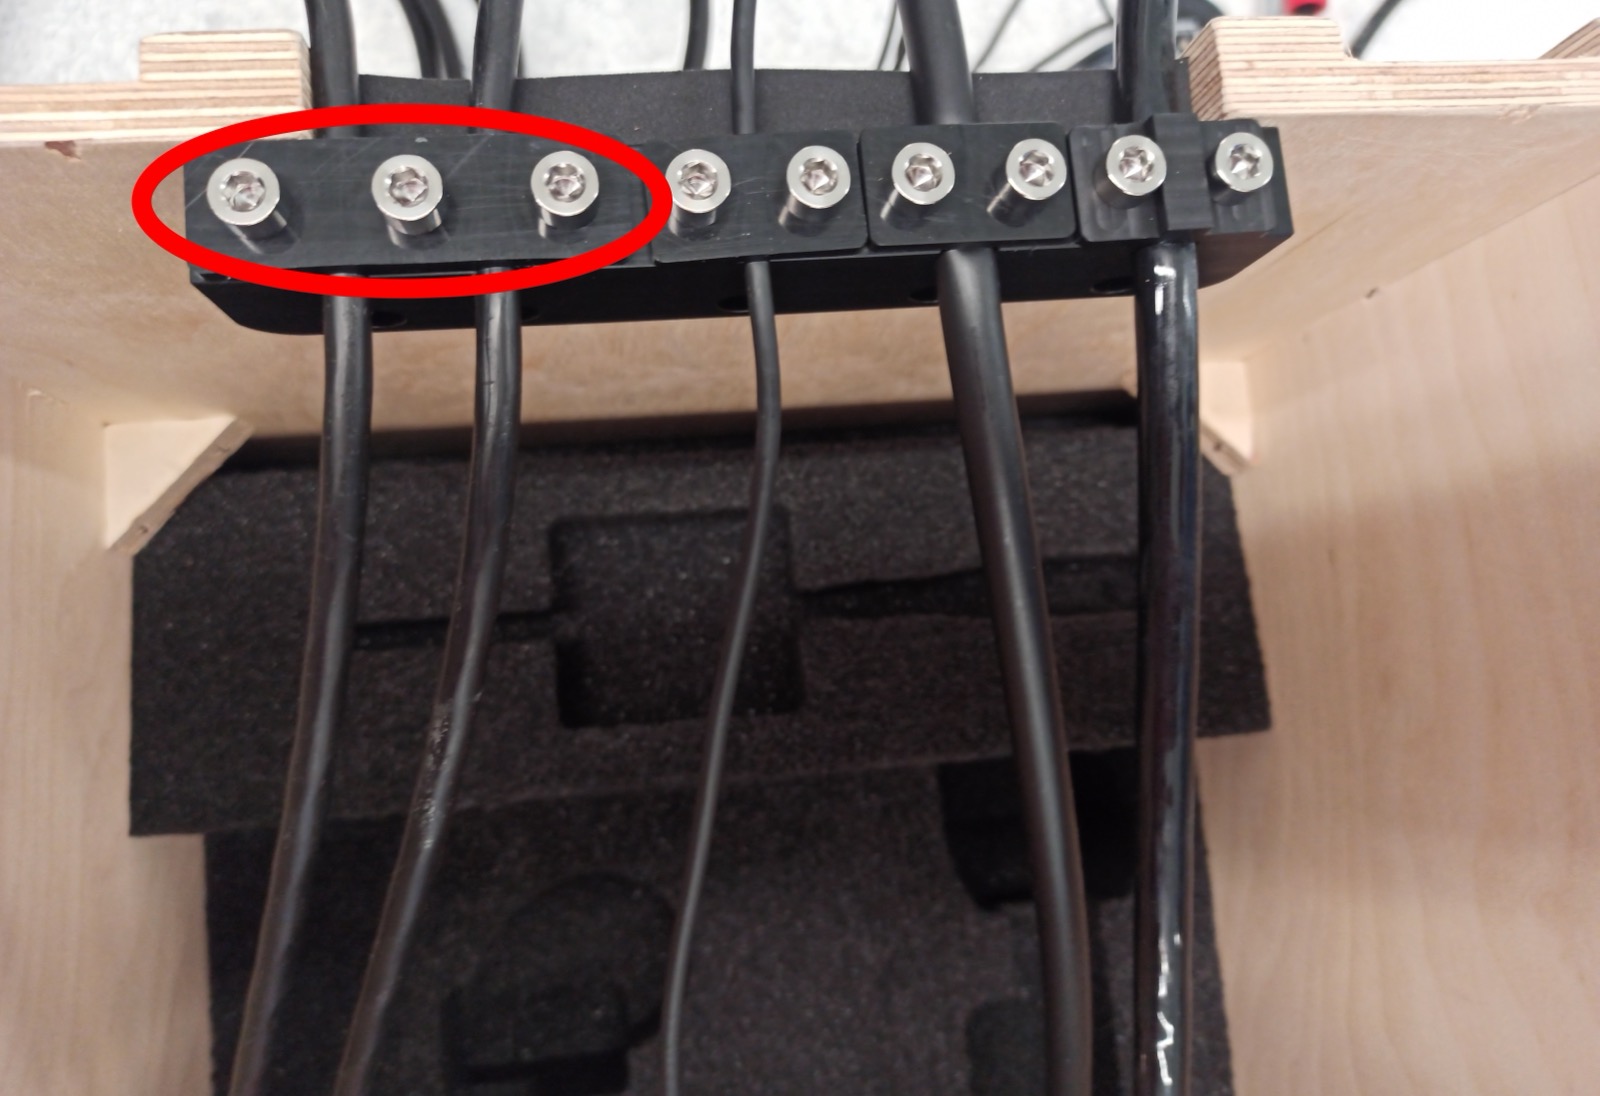
|
||||
|
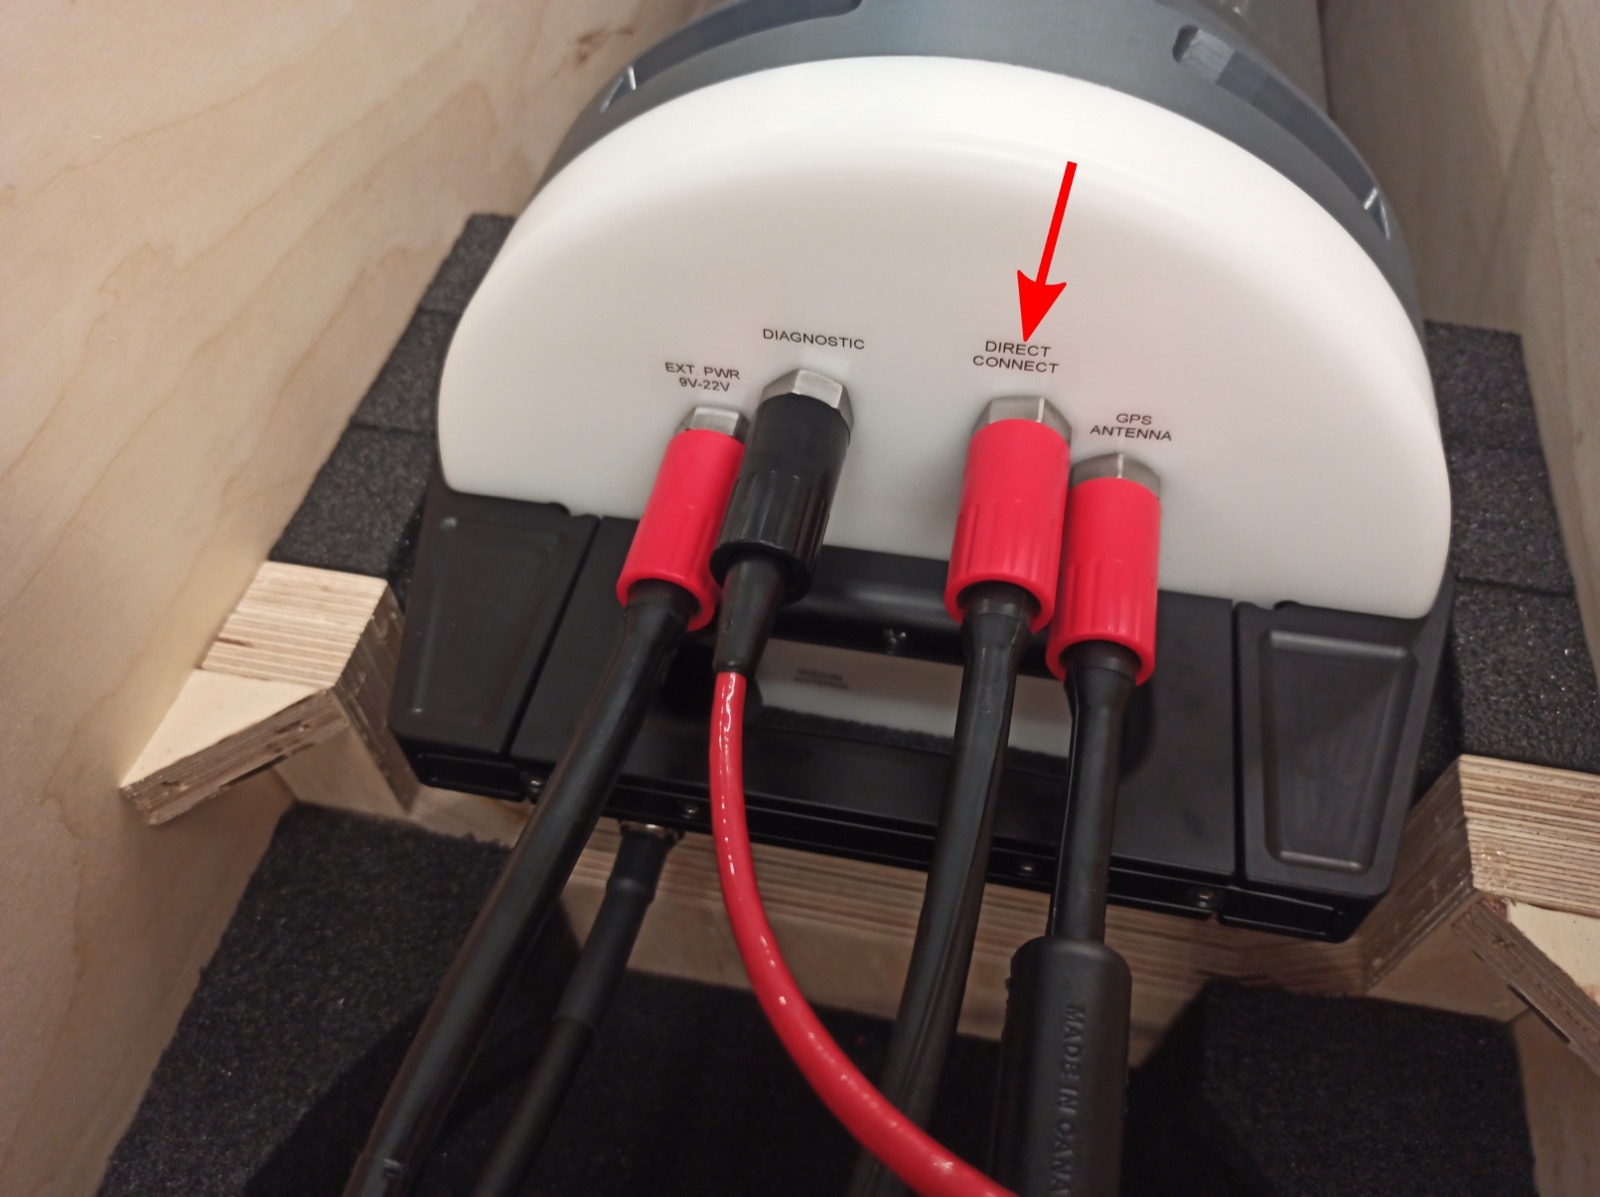
|
||||
|
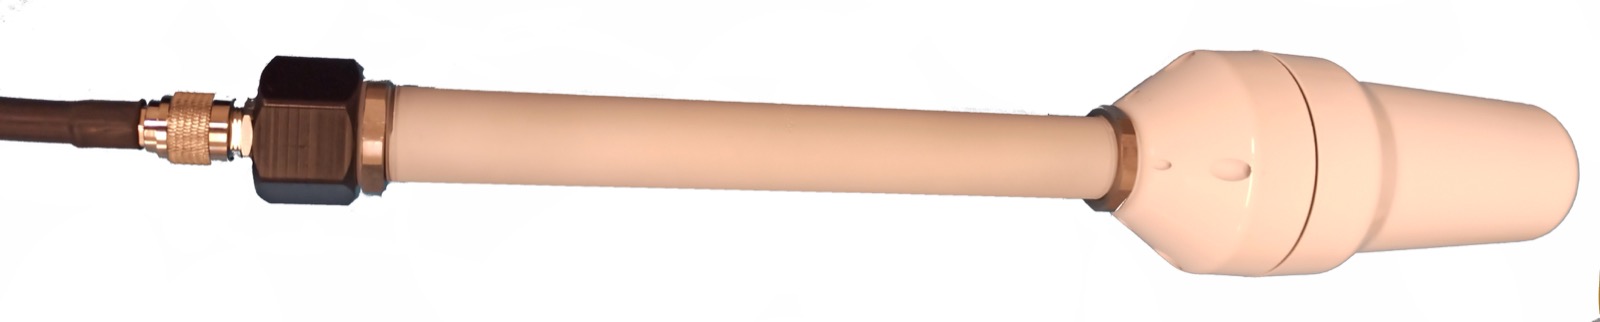
|
||||
|
|
||||
|
|
||||
|
|
||||
|
|
||||
|
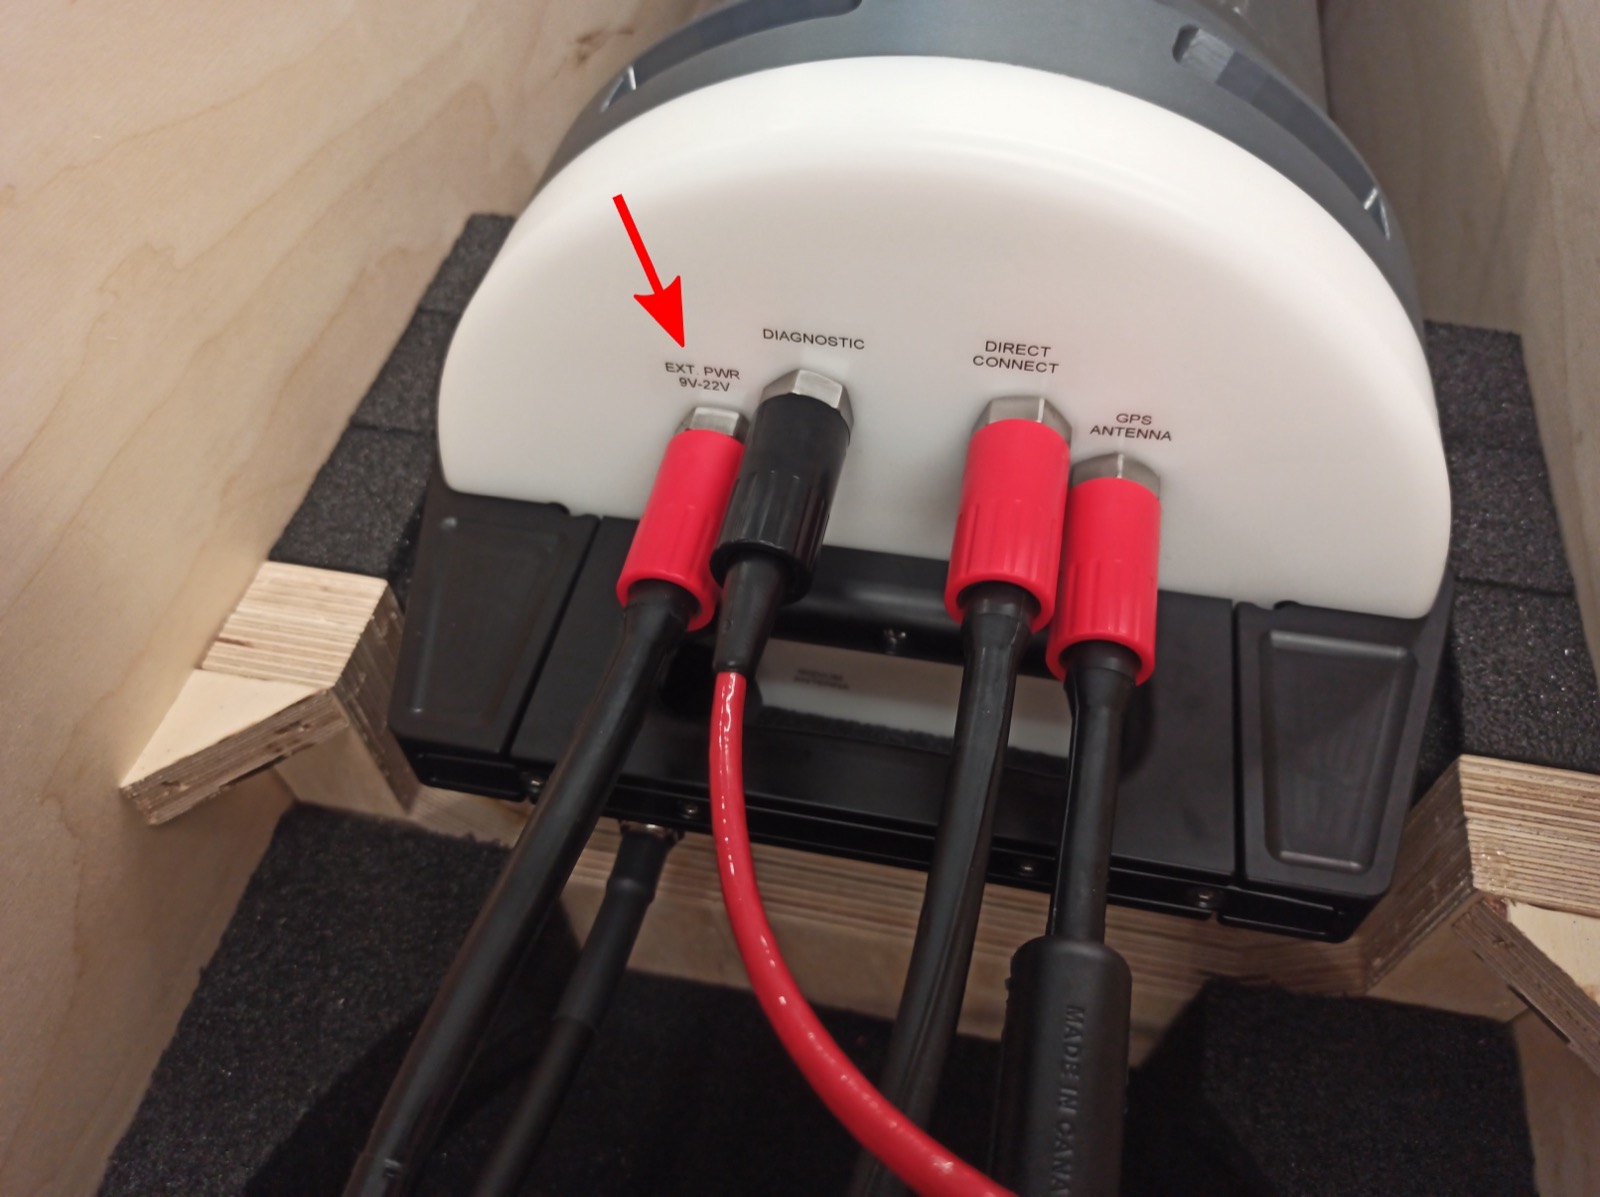
|
||||
|
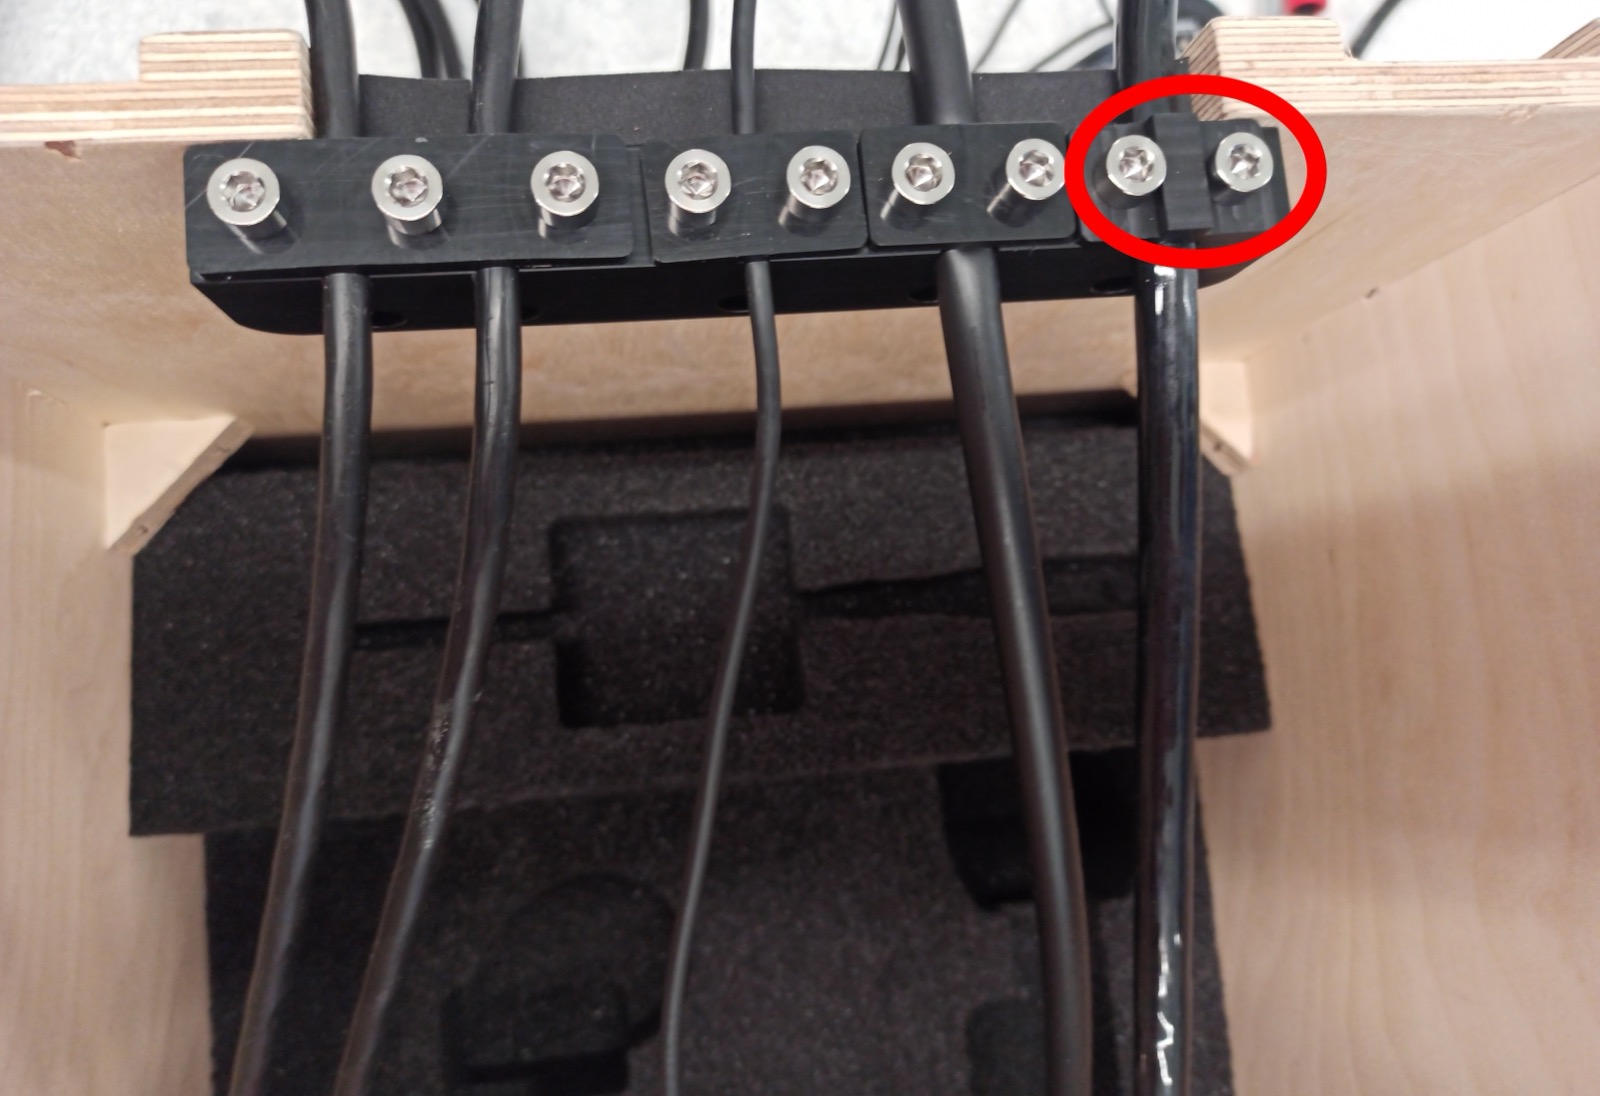
|
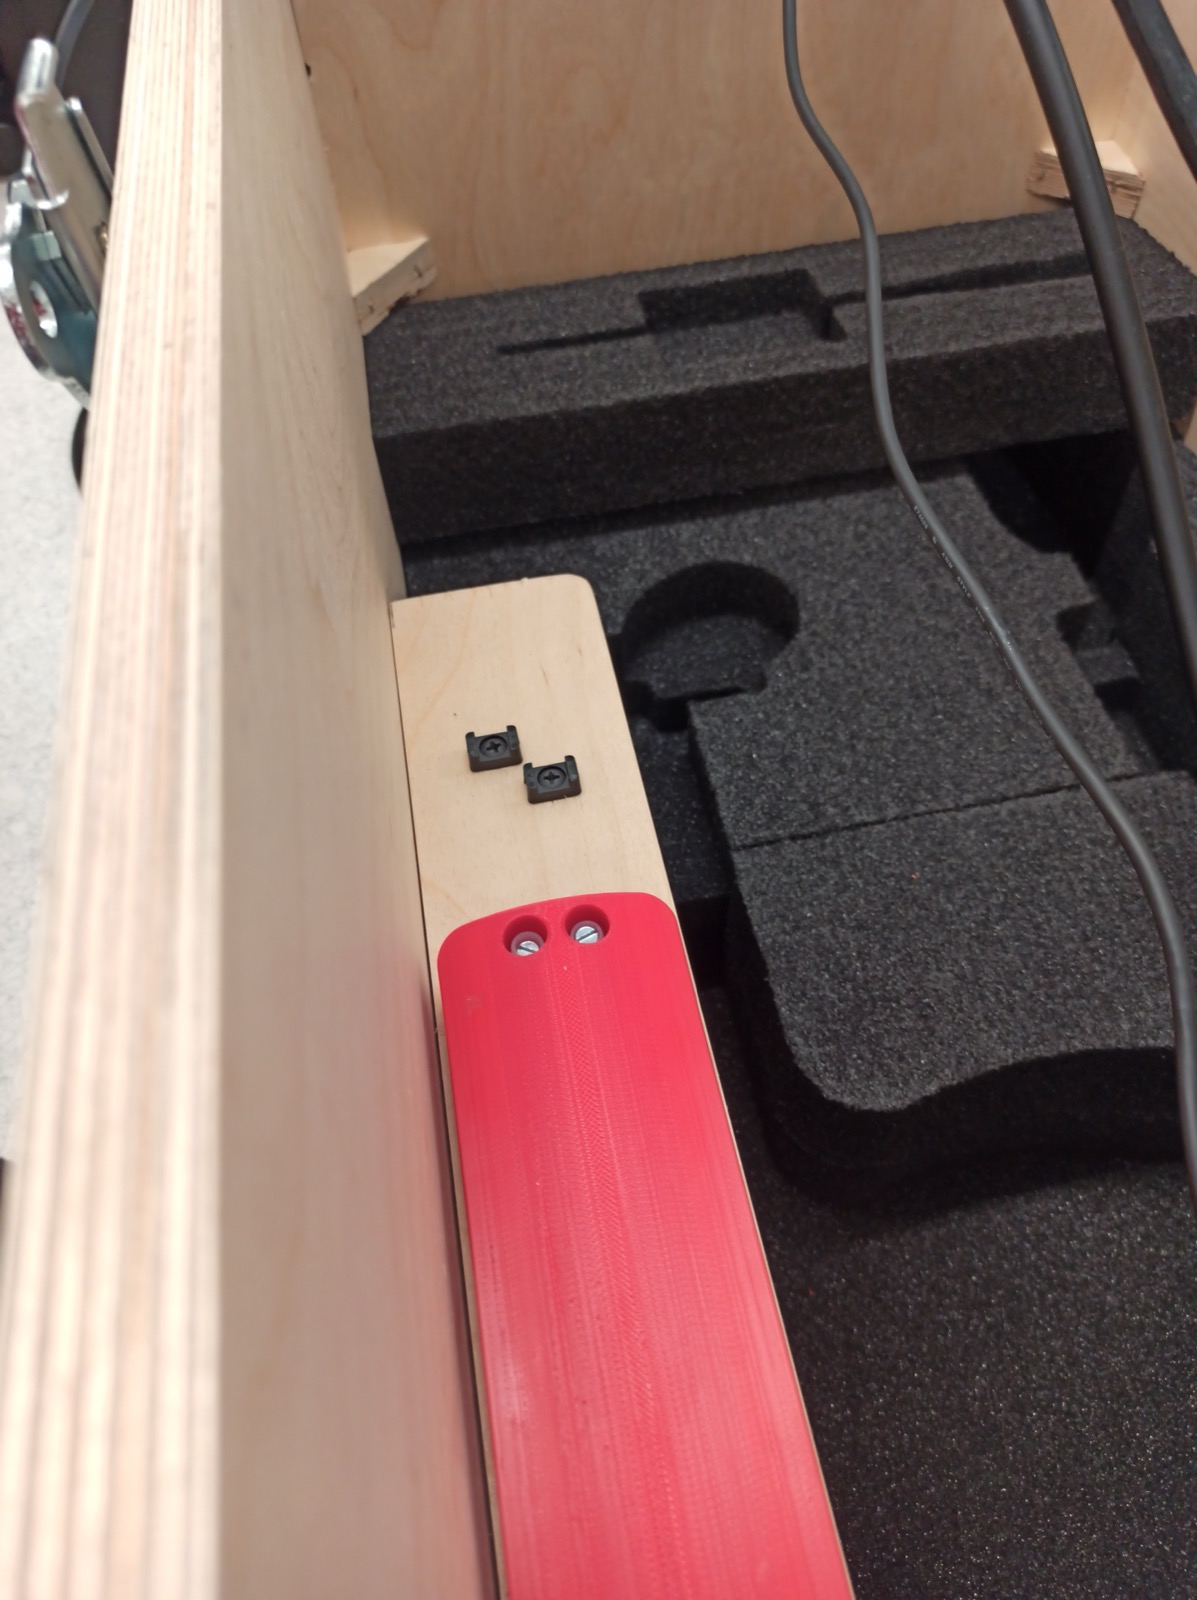
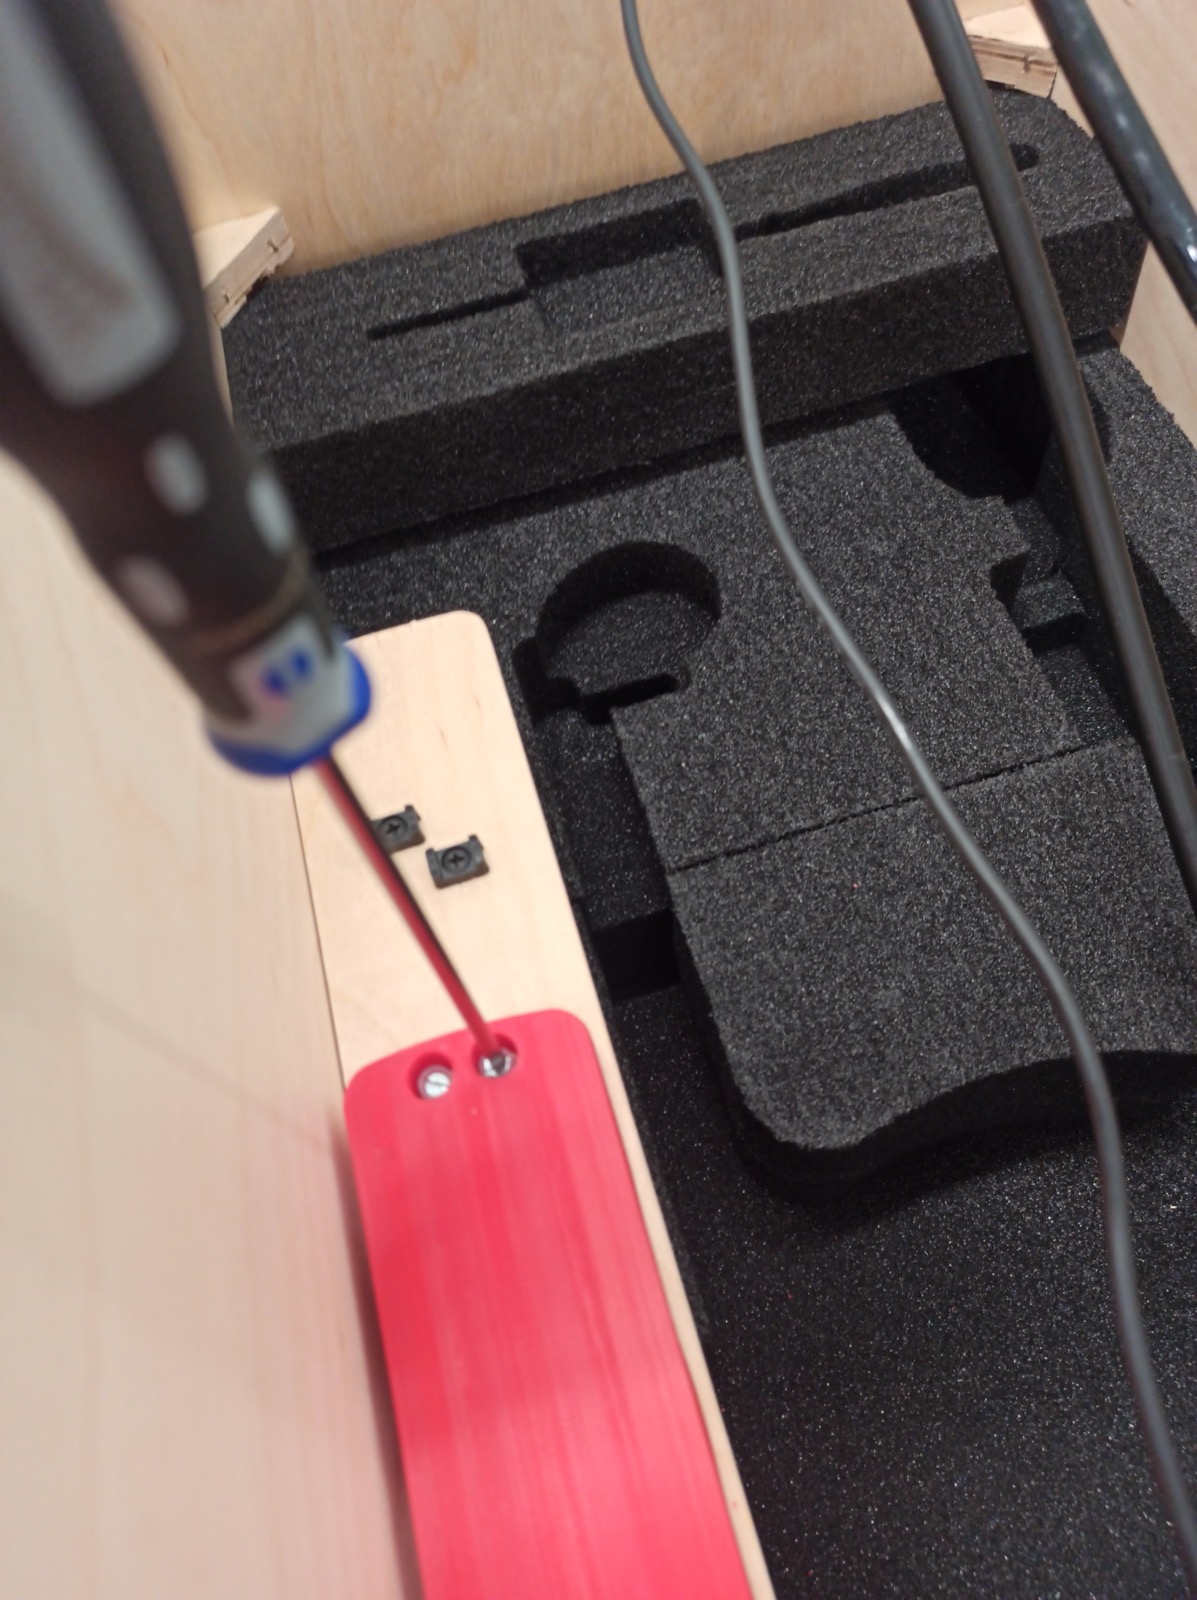
Enabling the RBRcervello
|
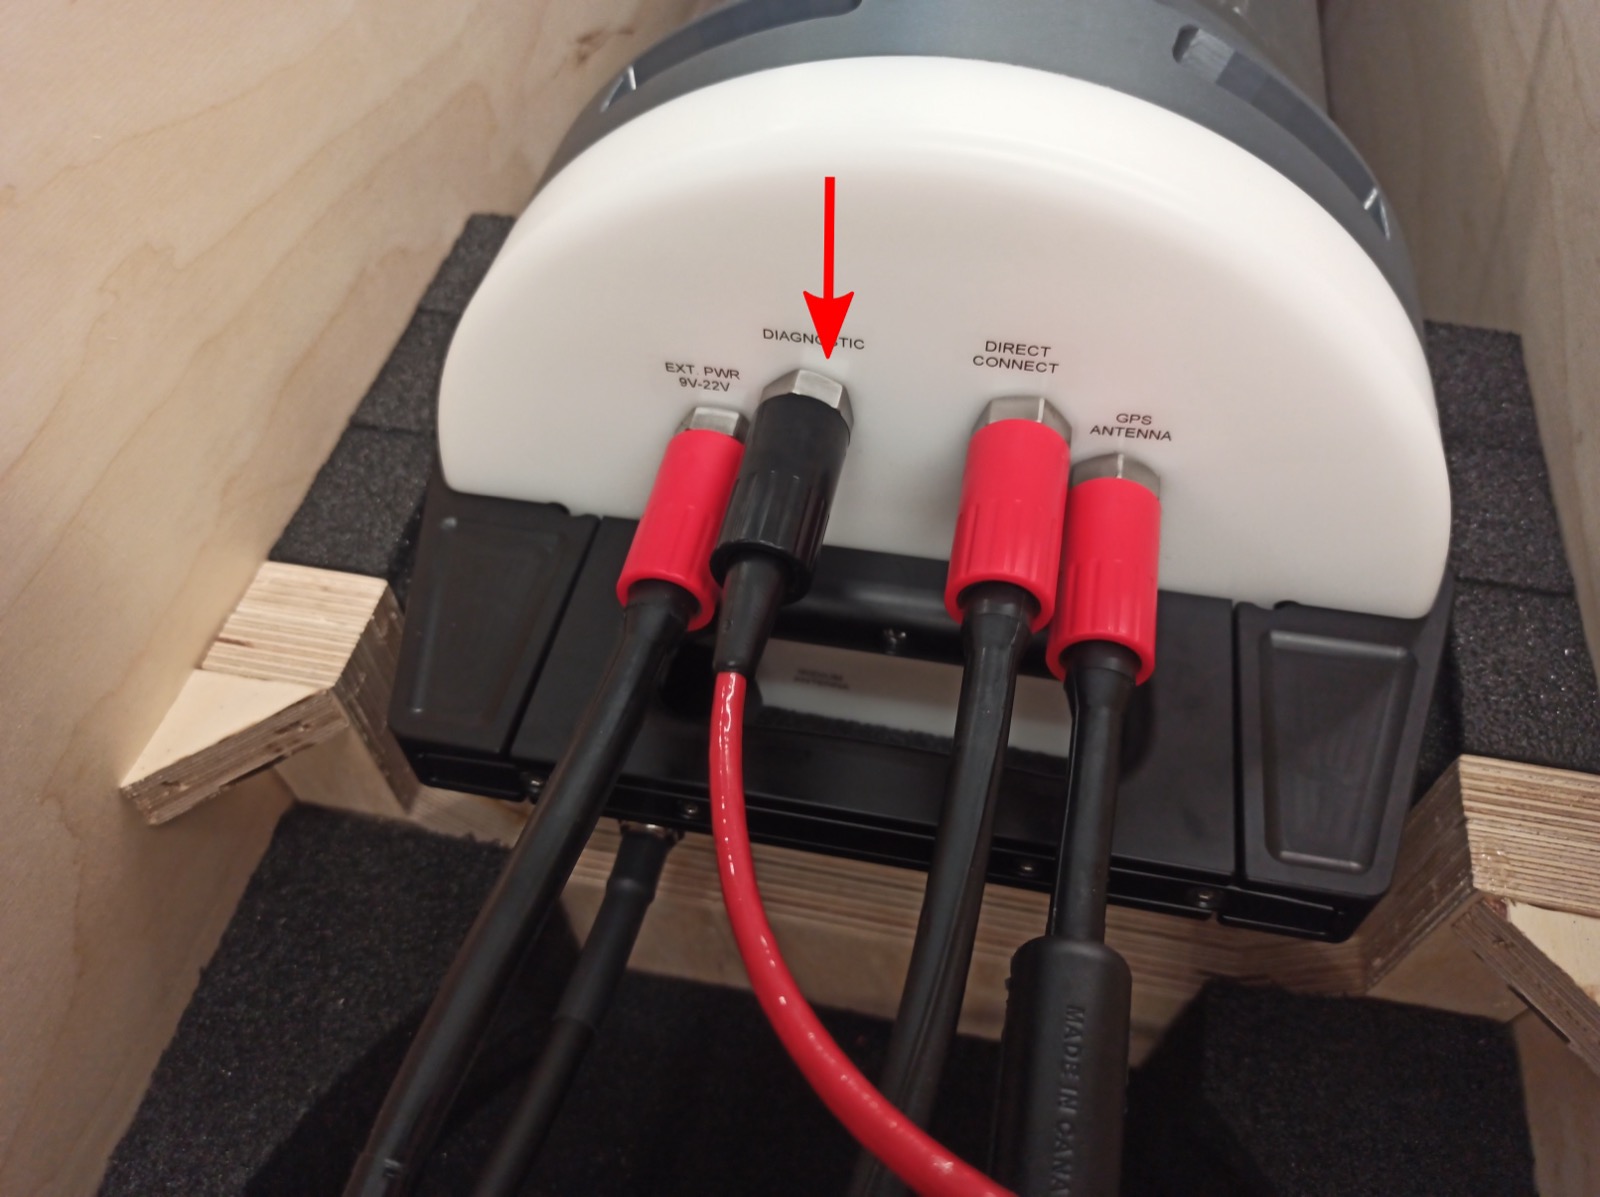
|
-
Follow the steps in Using the diagnostic port to set up the terminal and access the RBRcervello's menu.
-
Enable the RBRcervello by using the "enable" command.
-
Use the "status" command to check the status of all instruments attached to the mooring line. Verify that they are all logging.
The instrument status updates can take up to 20 minutes, depending on the number of instruments attached to the MLM line.
RBRcervello> status

RBRcervello
Serial number: 208685
Part number: 0011493
Cervello firmware version: 1.16.0

Clock: 2021-10-29 02:24:35

Cervello status: logging
Cervello internal battery: 13.68 V
Cervello external battery: 1.31 V

Storage used     : 168 MB
Storage remaining: 14355 MB
Storage size     : 15299 MB

Telemetry last update: 2021-10-29 02:00:09
Telemetry last result: success
Telemetry last mode  : rudics

GPS last update        : 2021-10-29 02:17:59
GPS last result        : fixacquired
GPS last known position: 45.349128 -75.917473

Instrument 01 last update     : 2021-10-29 02:24:06
Instrument 01                 : logging
Instrument 01 internal battery: 5.11 V
Instrument 01 external battery: 0.00 V

Instrument 02 last update     : 2021-10-29 02:23:37
Instrument 02                 : logging
Instrument 02 internal battery: 4.74 V
Instrument 02 external battery: 0.00 V

Instrument 03 last update     : 2021-10-29 02:20:45
Instrument 03                 : logging
Instrument 03 internal battery: 4.69 V
Instrument 03 external battery: 0.00 V

Instrument 04 last update     : 2021-10-29 02:23:02
Instrument 04                 : logging
Instrument 04 internal battery: 4.90 V
Instrument 04 external battery: 0.00 V

Download remaining: 0B