Calibration facility
Ruskin has provision for external labs to calibrate channels and generate calibration certificates with custom branding. Follow the process outlined below to complete a calibration.
Your facility must have authorisation from RBR to log in.
Performing a calibration
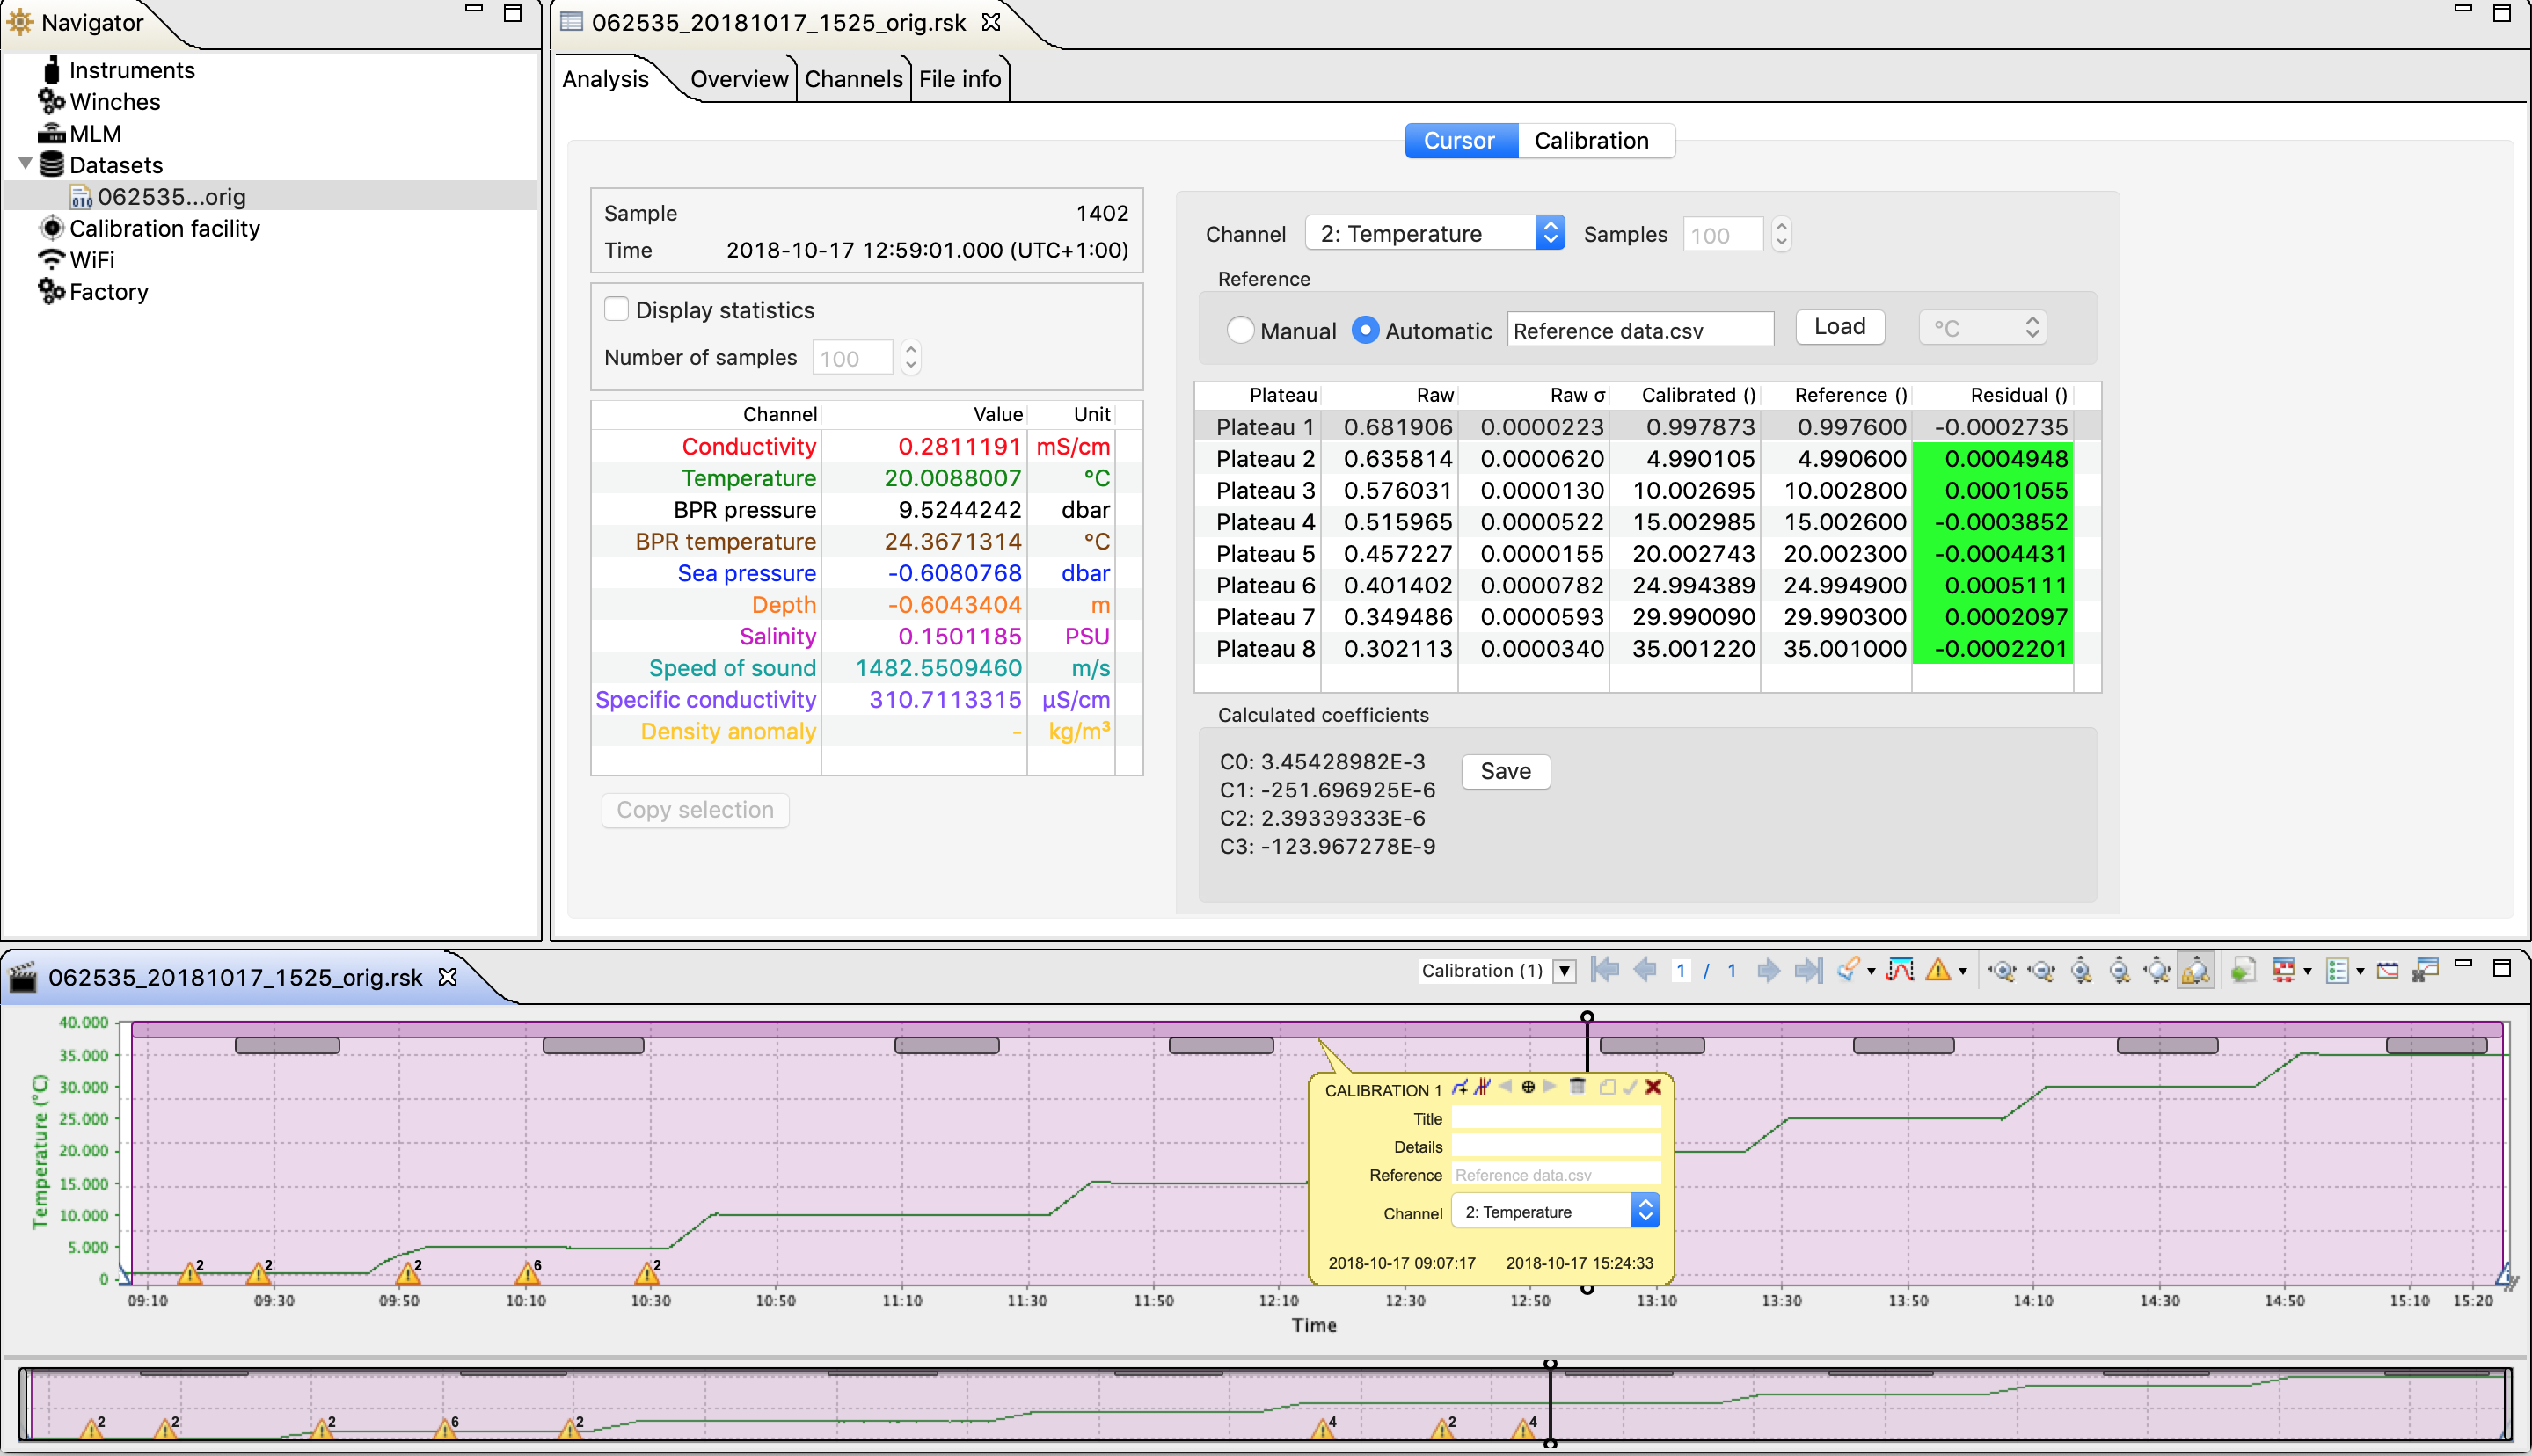
Performing a calibration requires that a calibration region be defined which contains a set of plateau markers. See Creating a calibration region and Plateau detection sections for information on how to generate these items. Once this has been complete, reference data must be entered. See the Reference data entry section for details on how to enter in reference data. The data for the calibration is summarized on the the Cursor tab on the Analysis page.
Ruskin will automatically calculate new coefficients each time data is altered whether it be an alteration of the plateau location or changes to reference data.
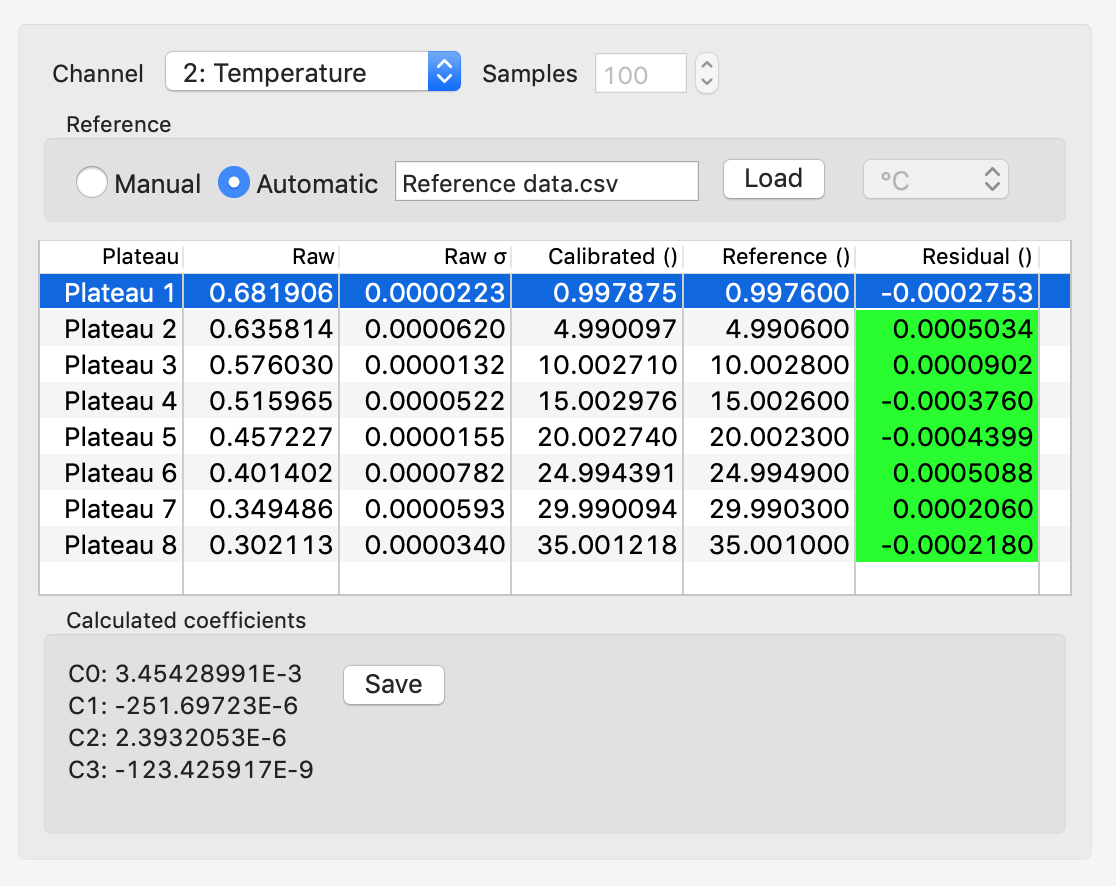
In order for a calibration to be considered valid the residuals must meet the specification set by the facility. If they do, the Residual column will highlight in an affirmative green colour. If any residuals are outside the specification it will be highlighted in red and the Save button will be disabled.
If there are residuals which highlight in red it may mean that a plateau marker is not seated correctly on the actual data of the plateau. Each plateau can be moved into the correct position by clicking on the marker and dragging the mouse left or right.
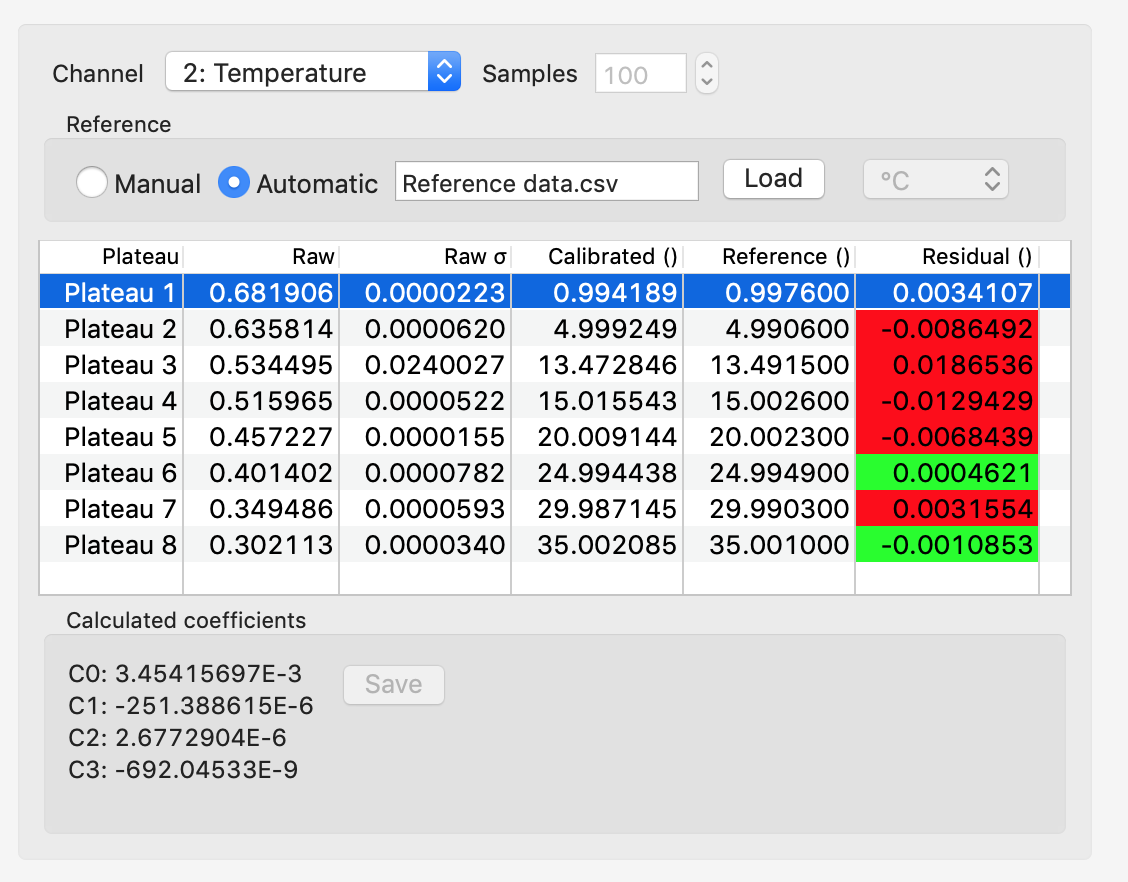

The Save button will be enabled, and the calibration completed once all of the plateau residuals are valid, indicated by being highlighted in green colour. Saving the calibration performs three operations; stores the newly generated coefficients into the RSK file and recalculates the data, stores the new coefficients into a connected instrument with the same serial number, and creates a certificate for the calibration and stores it on the instrument record at RBR.
Opening a dataset
Launch Ruskin from either a Windows PC or Mac
Open the RSK file using the File -> Open dataset menu option
Creating a calibration region
Open a dataset containing the device under test (DUT) data.
From the plot toolbar select the annotation creation button. Select the Calibration option from the dropdown menu.
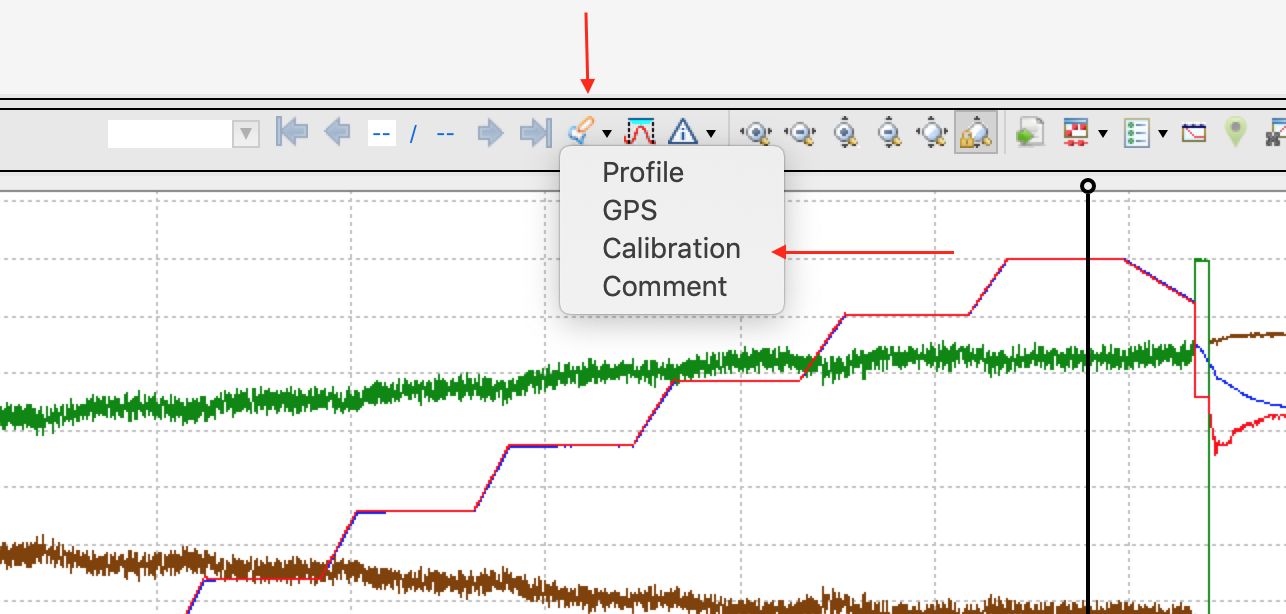
Move the mouse pointer to the first data point, hold down the left mouse button and move the pointer to the last data point, then release the mouse button.
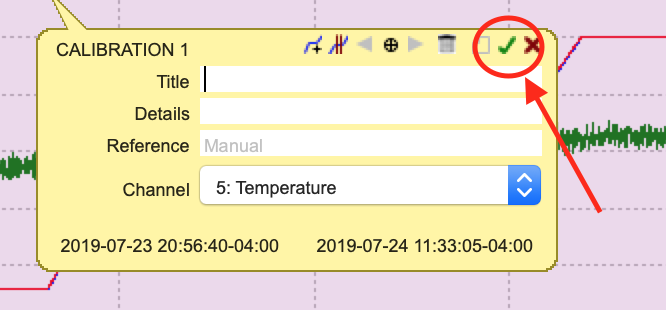
A calibration annotation will now be created and selected, displaying the information bubble.
Filling in the title and details fields are not necessary; however, they may come in handy if there are multiple calibration regions in the same file.
From the Channel selection widget, select the channel for which you want to calibrate. Channels are labeled by both name and index.

Click the check mark in the top right of the bubble to save the changes.
Plateau creation
Automatic
Click the Detect plateaus button in the annotation toolbar.

If there are existing plateaus, a warning dialogue will pop up, indicating that all existing plateau markers will be removed. Click 'Proceed' to continue.

All detected plateaus will be visible as grey markers under the calibration region marker.

Plateaus which should not be used can be deleted. See Plateau deletion.
Manual
Click the Create a plateau button in the annotation toolbar.
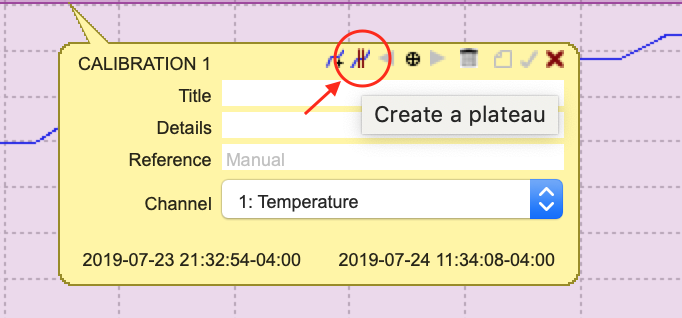
A single plateau marker will be added to the start of the calibration region.

Clicking the Create plateau button a second time will create a new plateau marker to the right of any existing plateaus.

Plateau deletion
Click on a plateau. The information bubble will appear, and the marker will highlight.
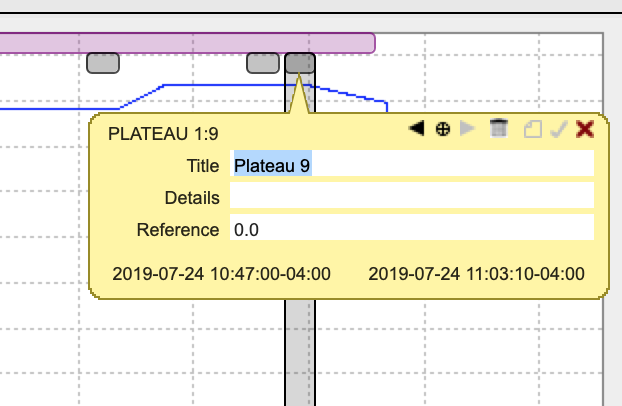
Click the trash can icon.
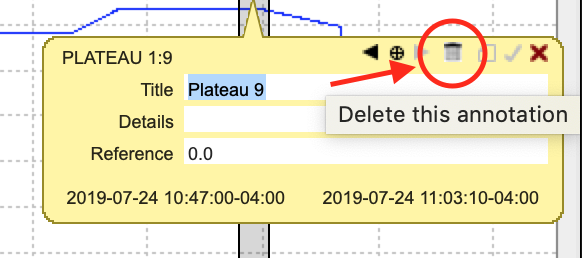
Click Delete on the confirmation dialog.

Reference data entry
Reference data can be entered either manually or automatically. The manual process requires that the operator enters in a reference value for each plateau. The automatic functionally allows the operator to upload a CSV file containing reference data. By default, the calibration is set to Manual entry mode.

Manual
Click the Manual option
Click the Reference cell on the plateau to be edited
Enter in a value and click the Enter/Return key on the keyboard
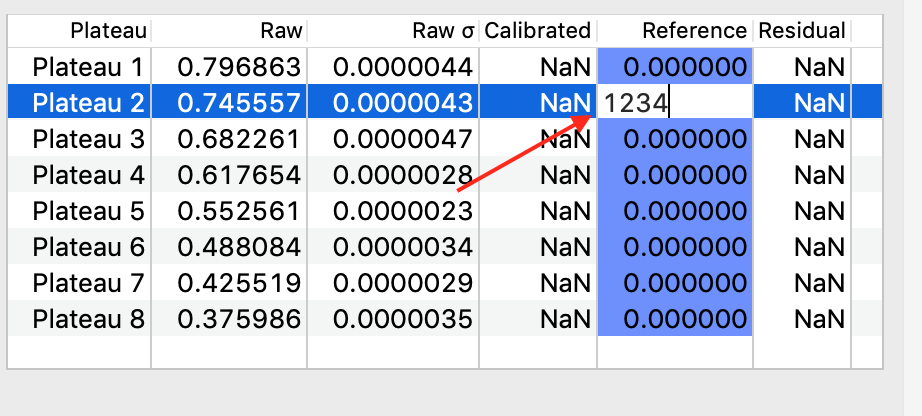
Complete this previous steps for all points in the calibration
Automatic
If Manual mode is selected, click the Automatic option.
If Automatic mode is selected, click the Load button.
In the file dialog, select the reference CSV file and click Open.
Select the appropriate columns for time and data from the Column selection dialog and click OK.

Reference values can now be seen on each plateau in a read-only mode.

