Quick start guide
Require tools
- A computer with an RS232 adapter and a terminal client software such as Putty.
- An RS232 cable as appropriate to connect to RBRcervata's diagnostic port.
- A suitable cable to connect the instrument to the RBRcervata
Before a deployment
In preparation for future deployment or an imminent one, follow the steps below.
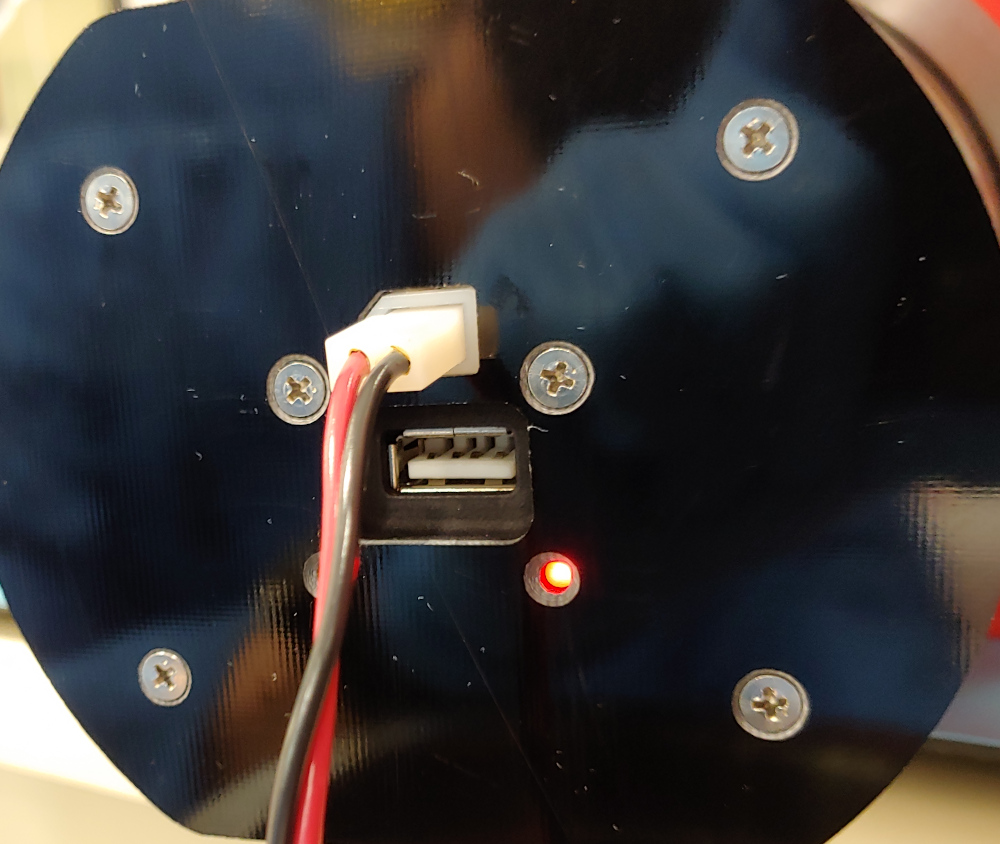
- Install the battery pack in the RBRcervata.
- Connect the RS232 cable to the "diagnostic port" and a computer.
- Open a terminal on the corresponding serial port with a 115200 Baud rate, 8 bits, no parity bit, 1 stop bit.
- Press enter and wait until you see the prompt "RBRcervello>".
- Type "stop-deployment" and press enter.
- Use the "edit-config -c cervello" to edit the RBRcervata configuration.
- Use the "edit-config -c instrument01" to edit the instrument 01 configuration. Add the -n flag to start from an empty file.
- Use "scrub-instrument" to erase any data that might be stored in the instrument(s).
- Execute "scrub-controller" to erase any data that might be stored in the RBRcervata.
- Synchronize the clock of the RBRcervata using "set-cervello-clock YYYY-MM-DDTHH:MM:SS" with the appropriate time, preferably UTC.
- Send the "set-instrument-clock -a" command to synchronize the clock of the instruments with the RBRcervata.
- Use "status-check" to verify that the instruments and the controller and in the right state, in this case, stopped.
- (Optional) issue a "start-deployment" command to initiate the deployment and enable the instruments right away.
- (Optional) issue a "status-check" to verify the instruments are logging.
If the deployment is stopped, the RBRcervata will enter deep sleep until it receives data through its diagnostic port again. In this state, the instruments, as well as the RBRcervata, will enter an ultra-low power state.
Data retrieval
When the RBRcervata is retrieved after a deployment the following steps should be followed:
- Connect the RS232 cable to the "diagnostic port" and a computer.
- Apply power using the RS232 cable as the battery pack might be depleted.
- Open a terminal on the corresponding serial port with a 115200 Baud rate, 8 bits, no parity bit, 1 stop bit.
- Press enter and wait until you see the prompt "RBRcervello>".
- Type "stop-deployment" and press enter.
- Synchronize the clock of the RBRcervata using "set-cervello-clock YYYY-MM-DDTHH:MM:SS" with the appropriate time, preferably UTC. This will allow for timestamp correction after retrieving the data.
- Use "status-check" to verify that the instruments (if any) and the controller and in the right state, in this case, stopped.
- Open the RBRcervata and retrieve the micro SD card according to the instructions provided in the Hardware overview. Make sure both LEDs are off before unplugging the battery and the RS232 cable.
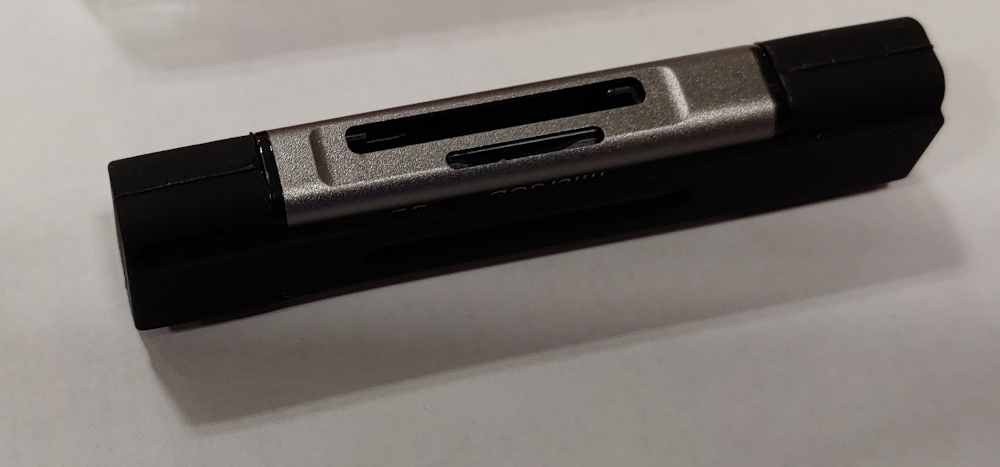
- The RSK files will be in the 'data' folder of the SD card, copy them over to the computer using the included SD card reader.
Battery connection

Micro SD card reader

